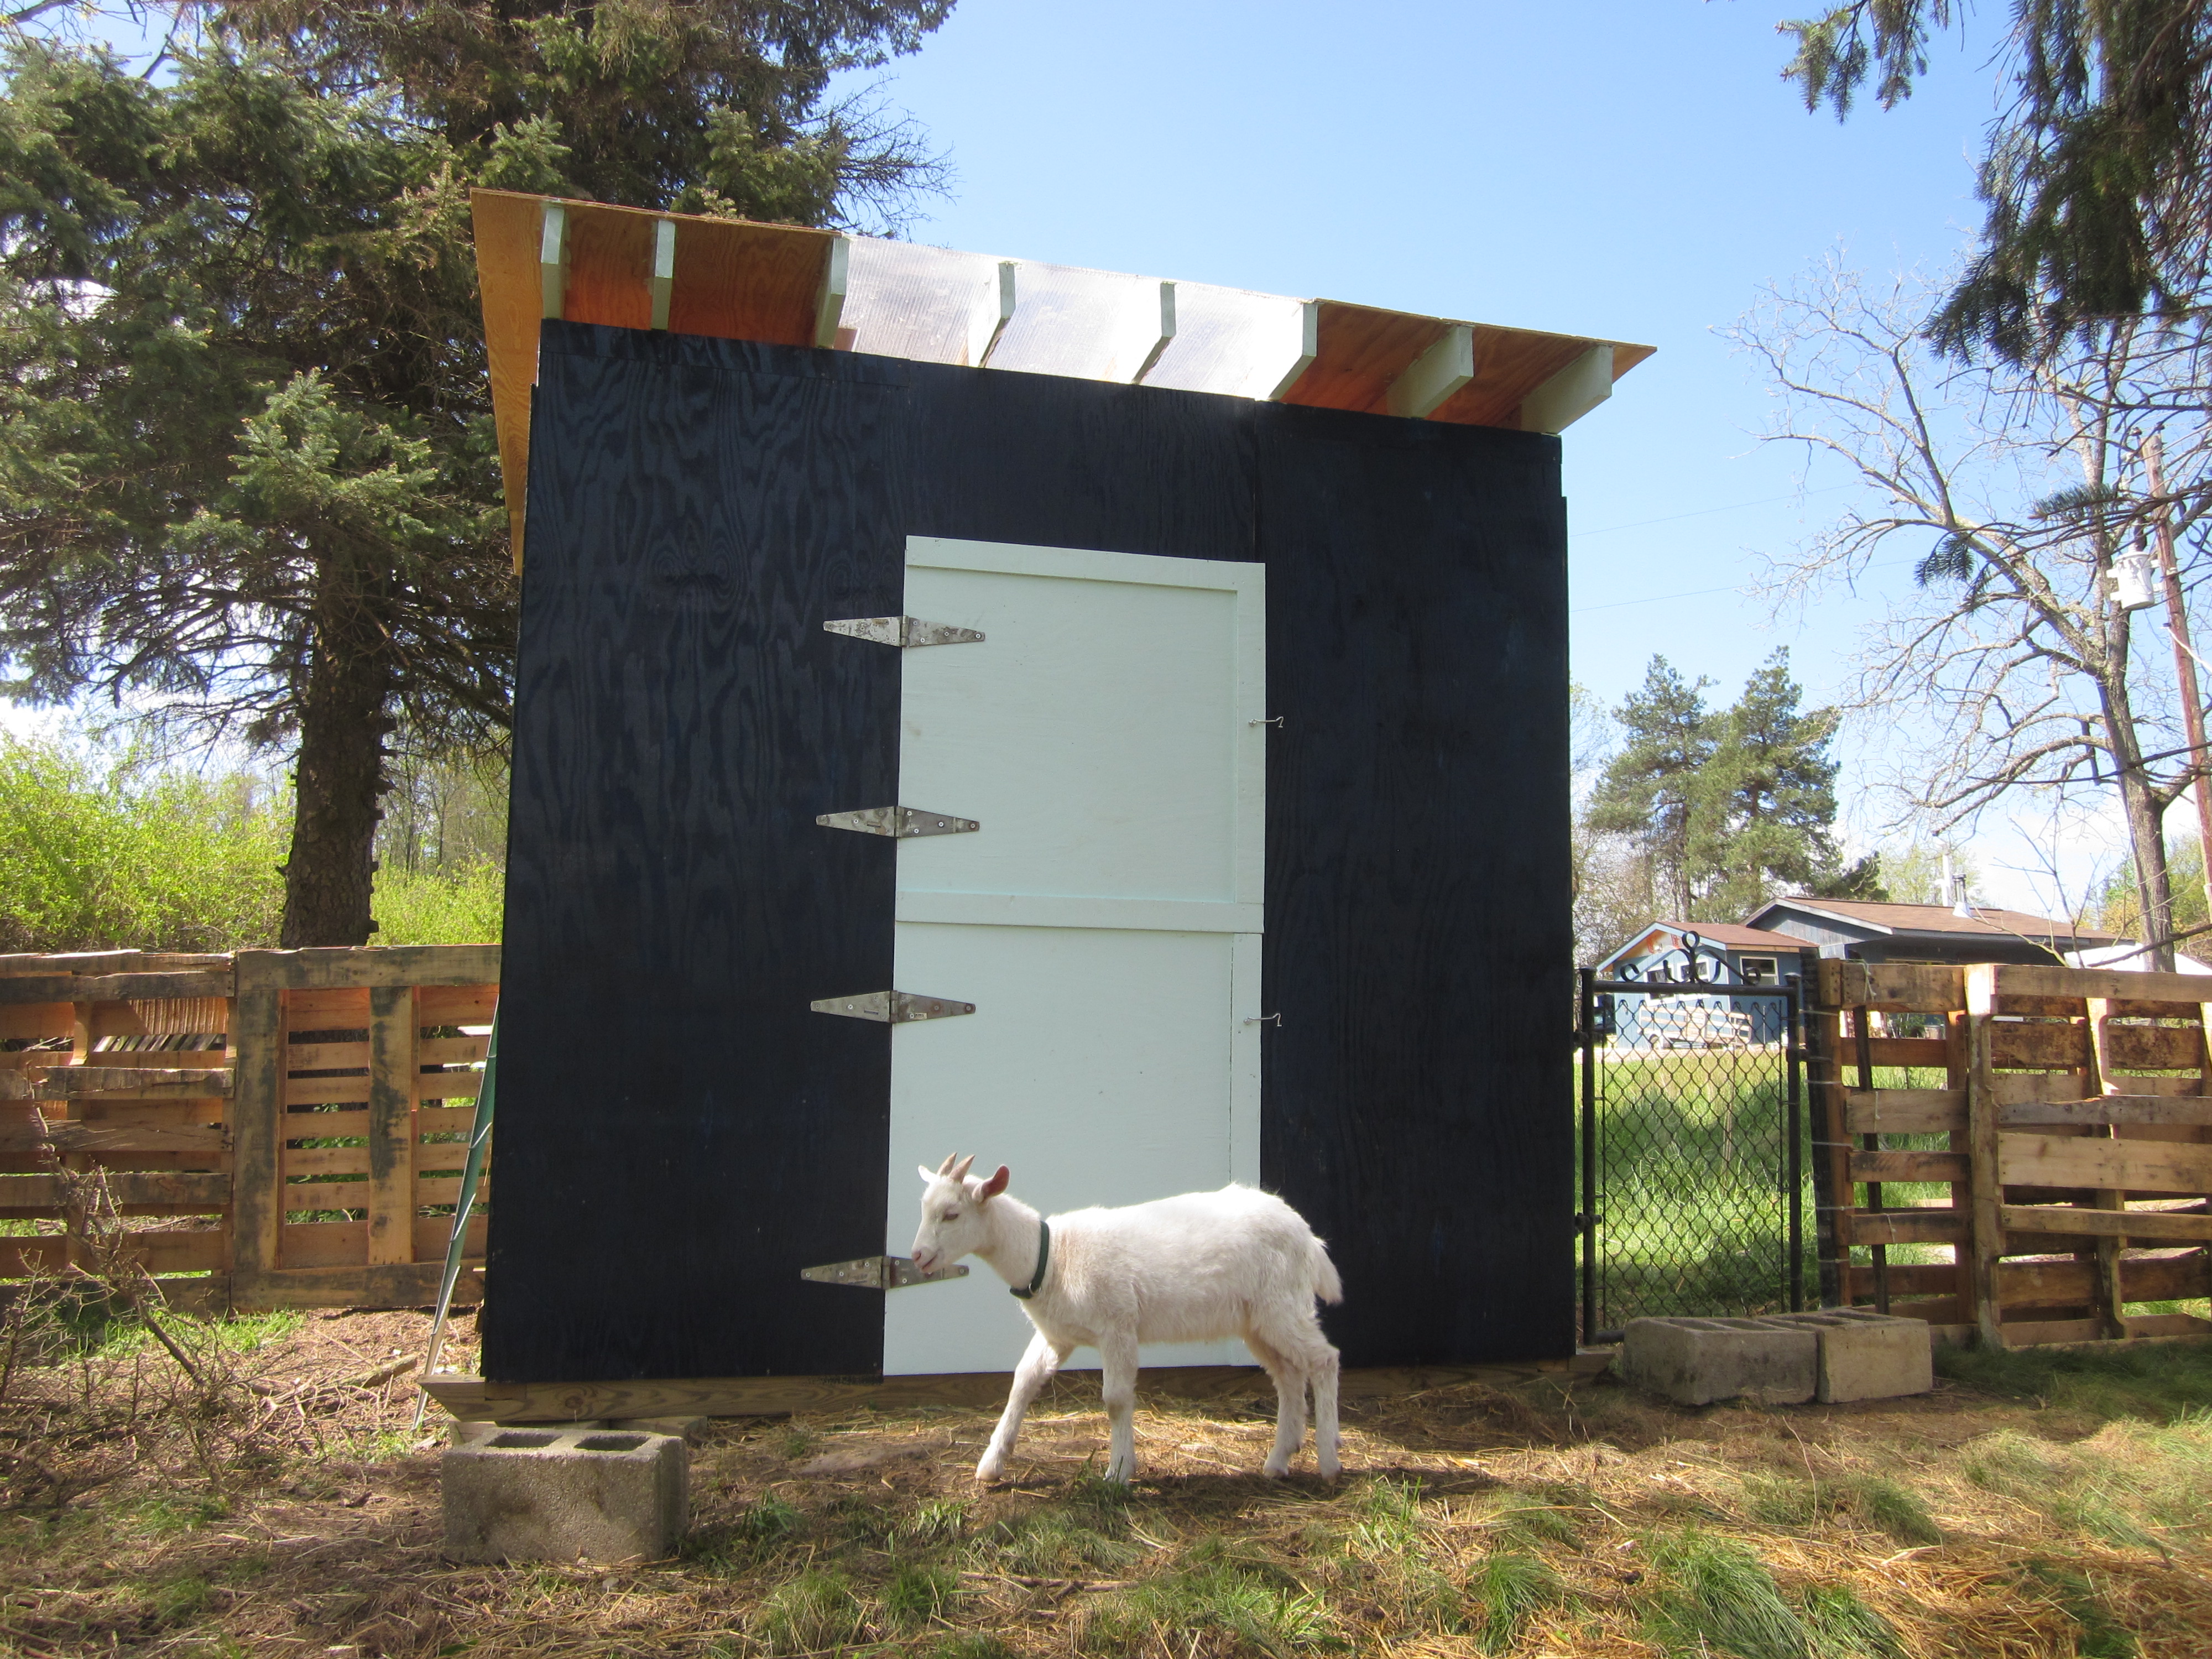
On April 3rd, our goat Agnes had her first kid, Alice, at Blue Rock Station. The week before, we had gotten our first goat on the farm, Gilead (“Gilly”), a beautiful white Saanen-Boar-Nubian wether, about eight weeks old. We housed Gilly in our mixed species animal shed with a large fenced in area while we made our mad rush to get ready for Agnes and Alice’s arrival.
After assessing the property and the 25+ acres of wooded area, we decided that there was plenty of goat browse, but that we needed a way to have a portable barn that could be moved to new areas. We flipped through many animal shelter books and found a skid barn design for horses in “How to Build Animal Housing” by Carol Ekarius. We modified the design for our needs, removing the windows so that the goats couldn’t jump up and break them, and adding a polycarbonate roof material (leftover from the greenhouse) to let in light.
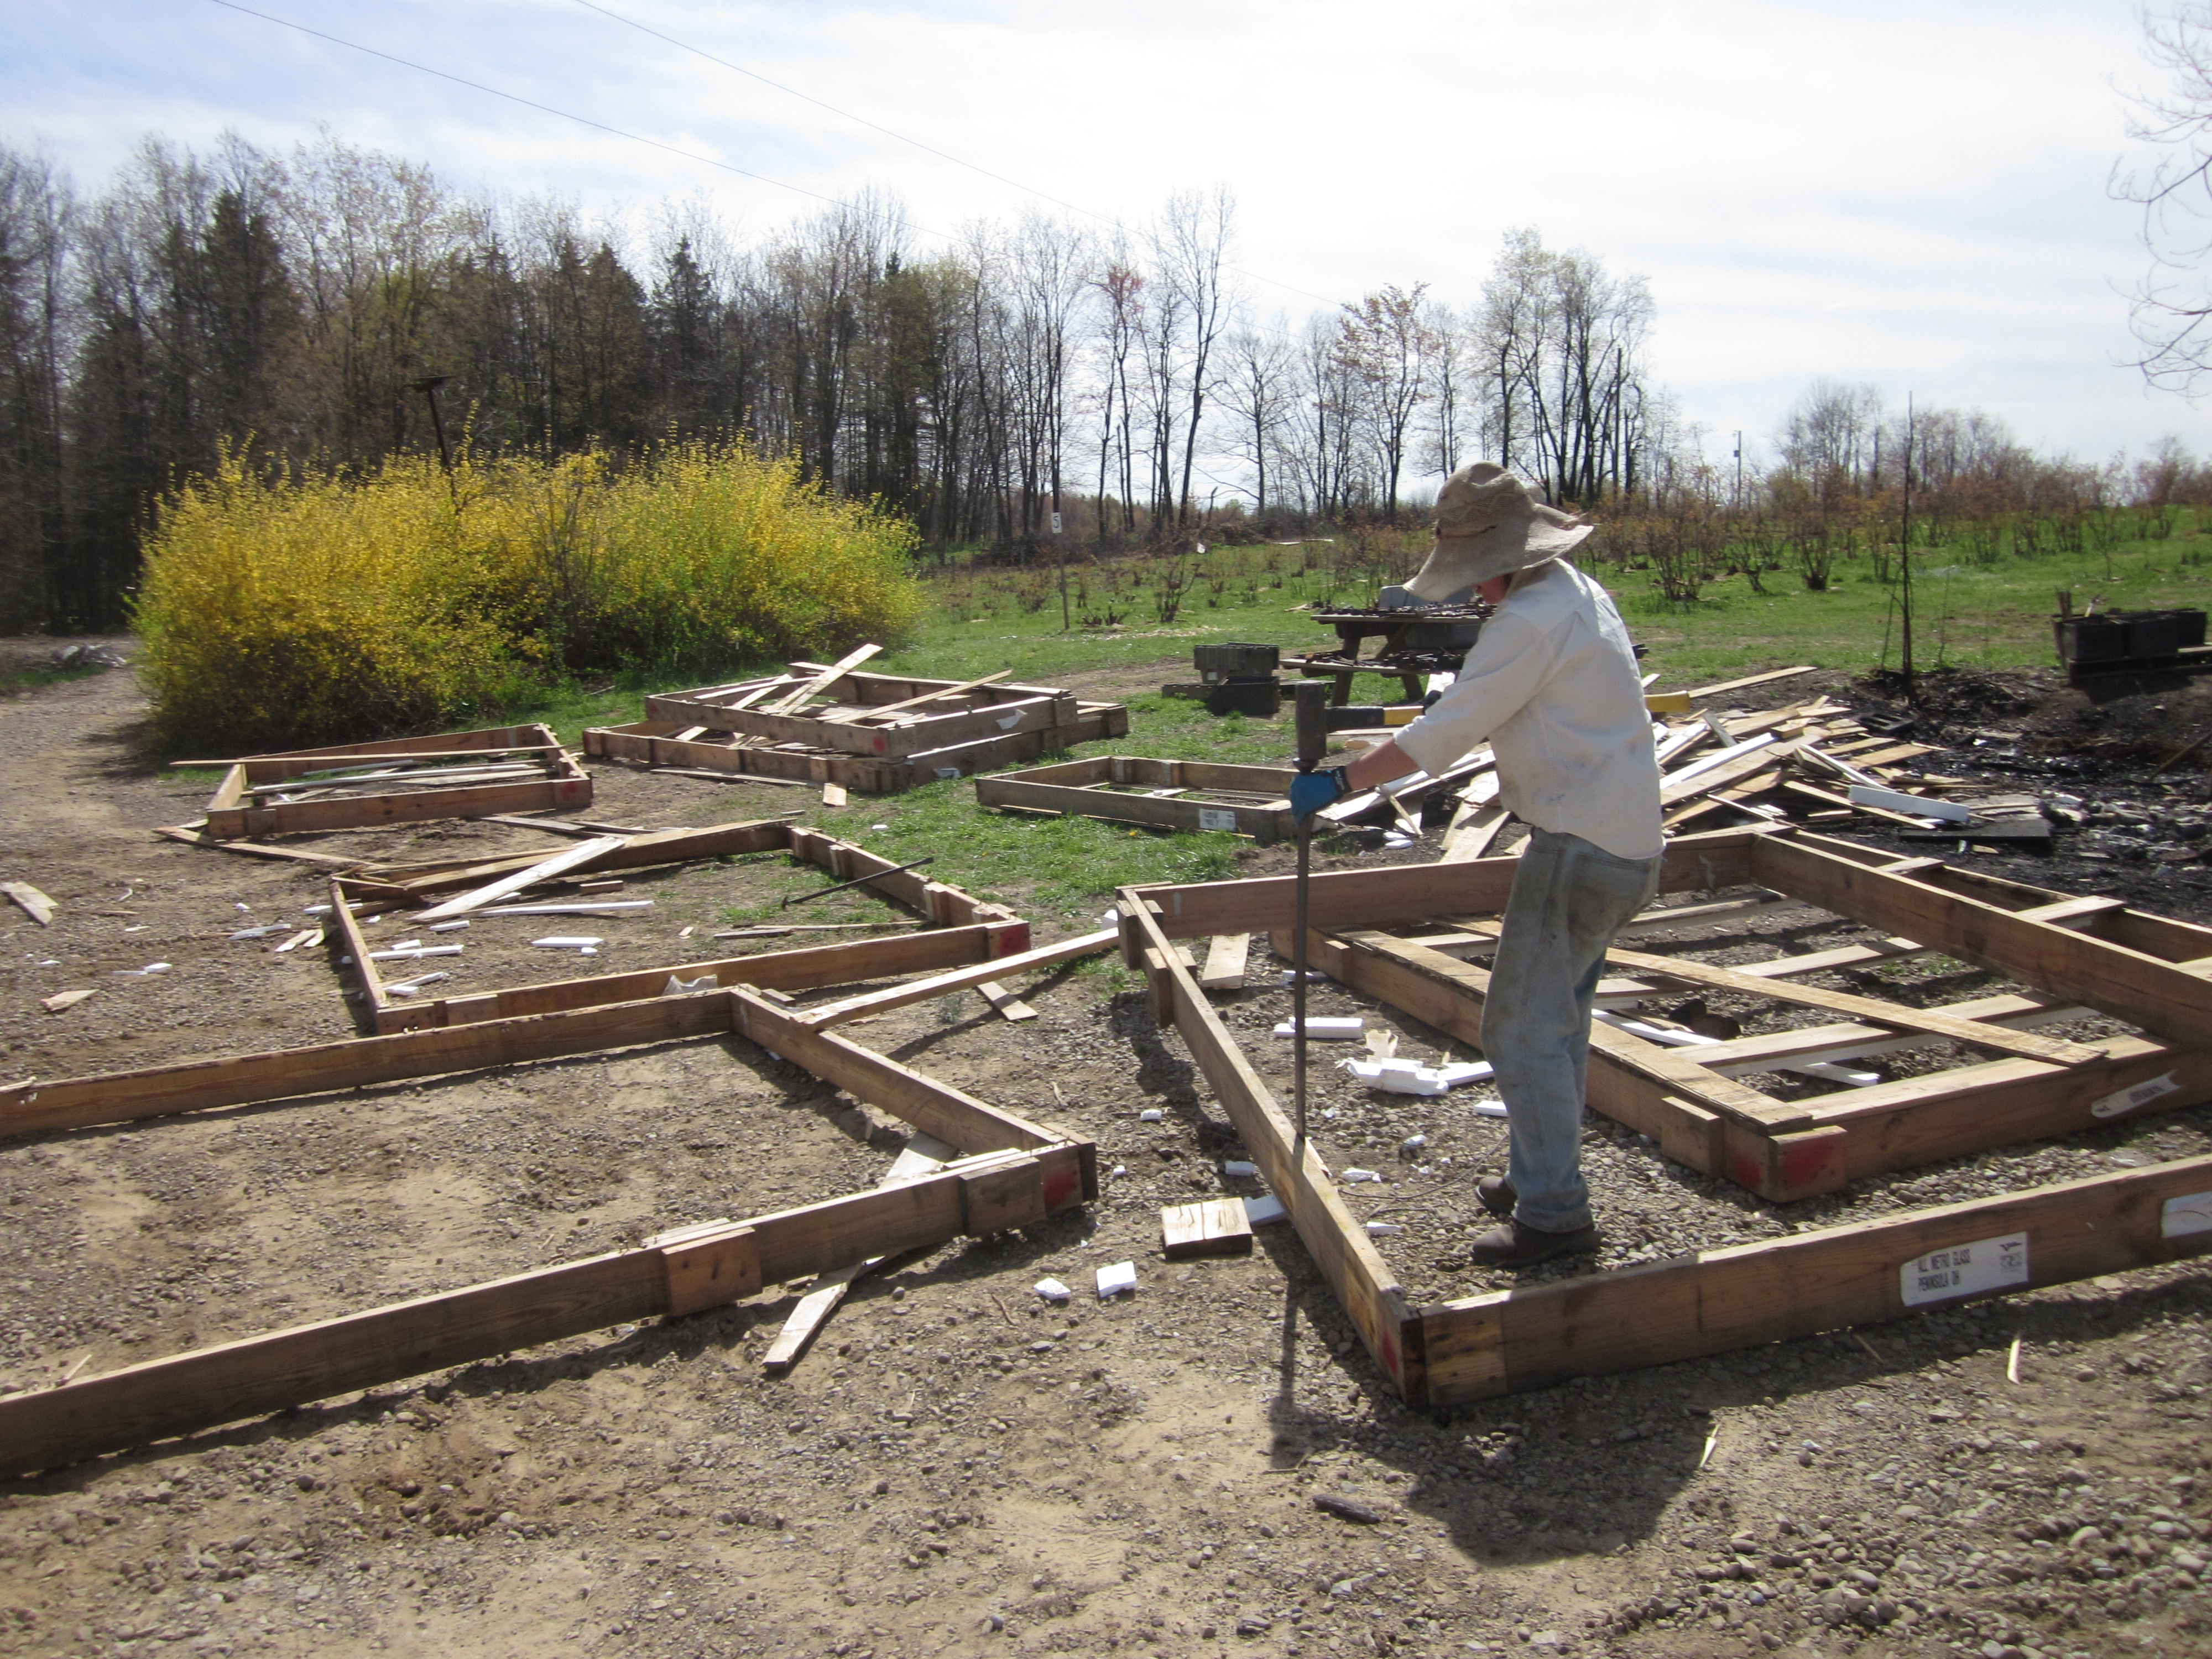
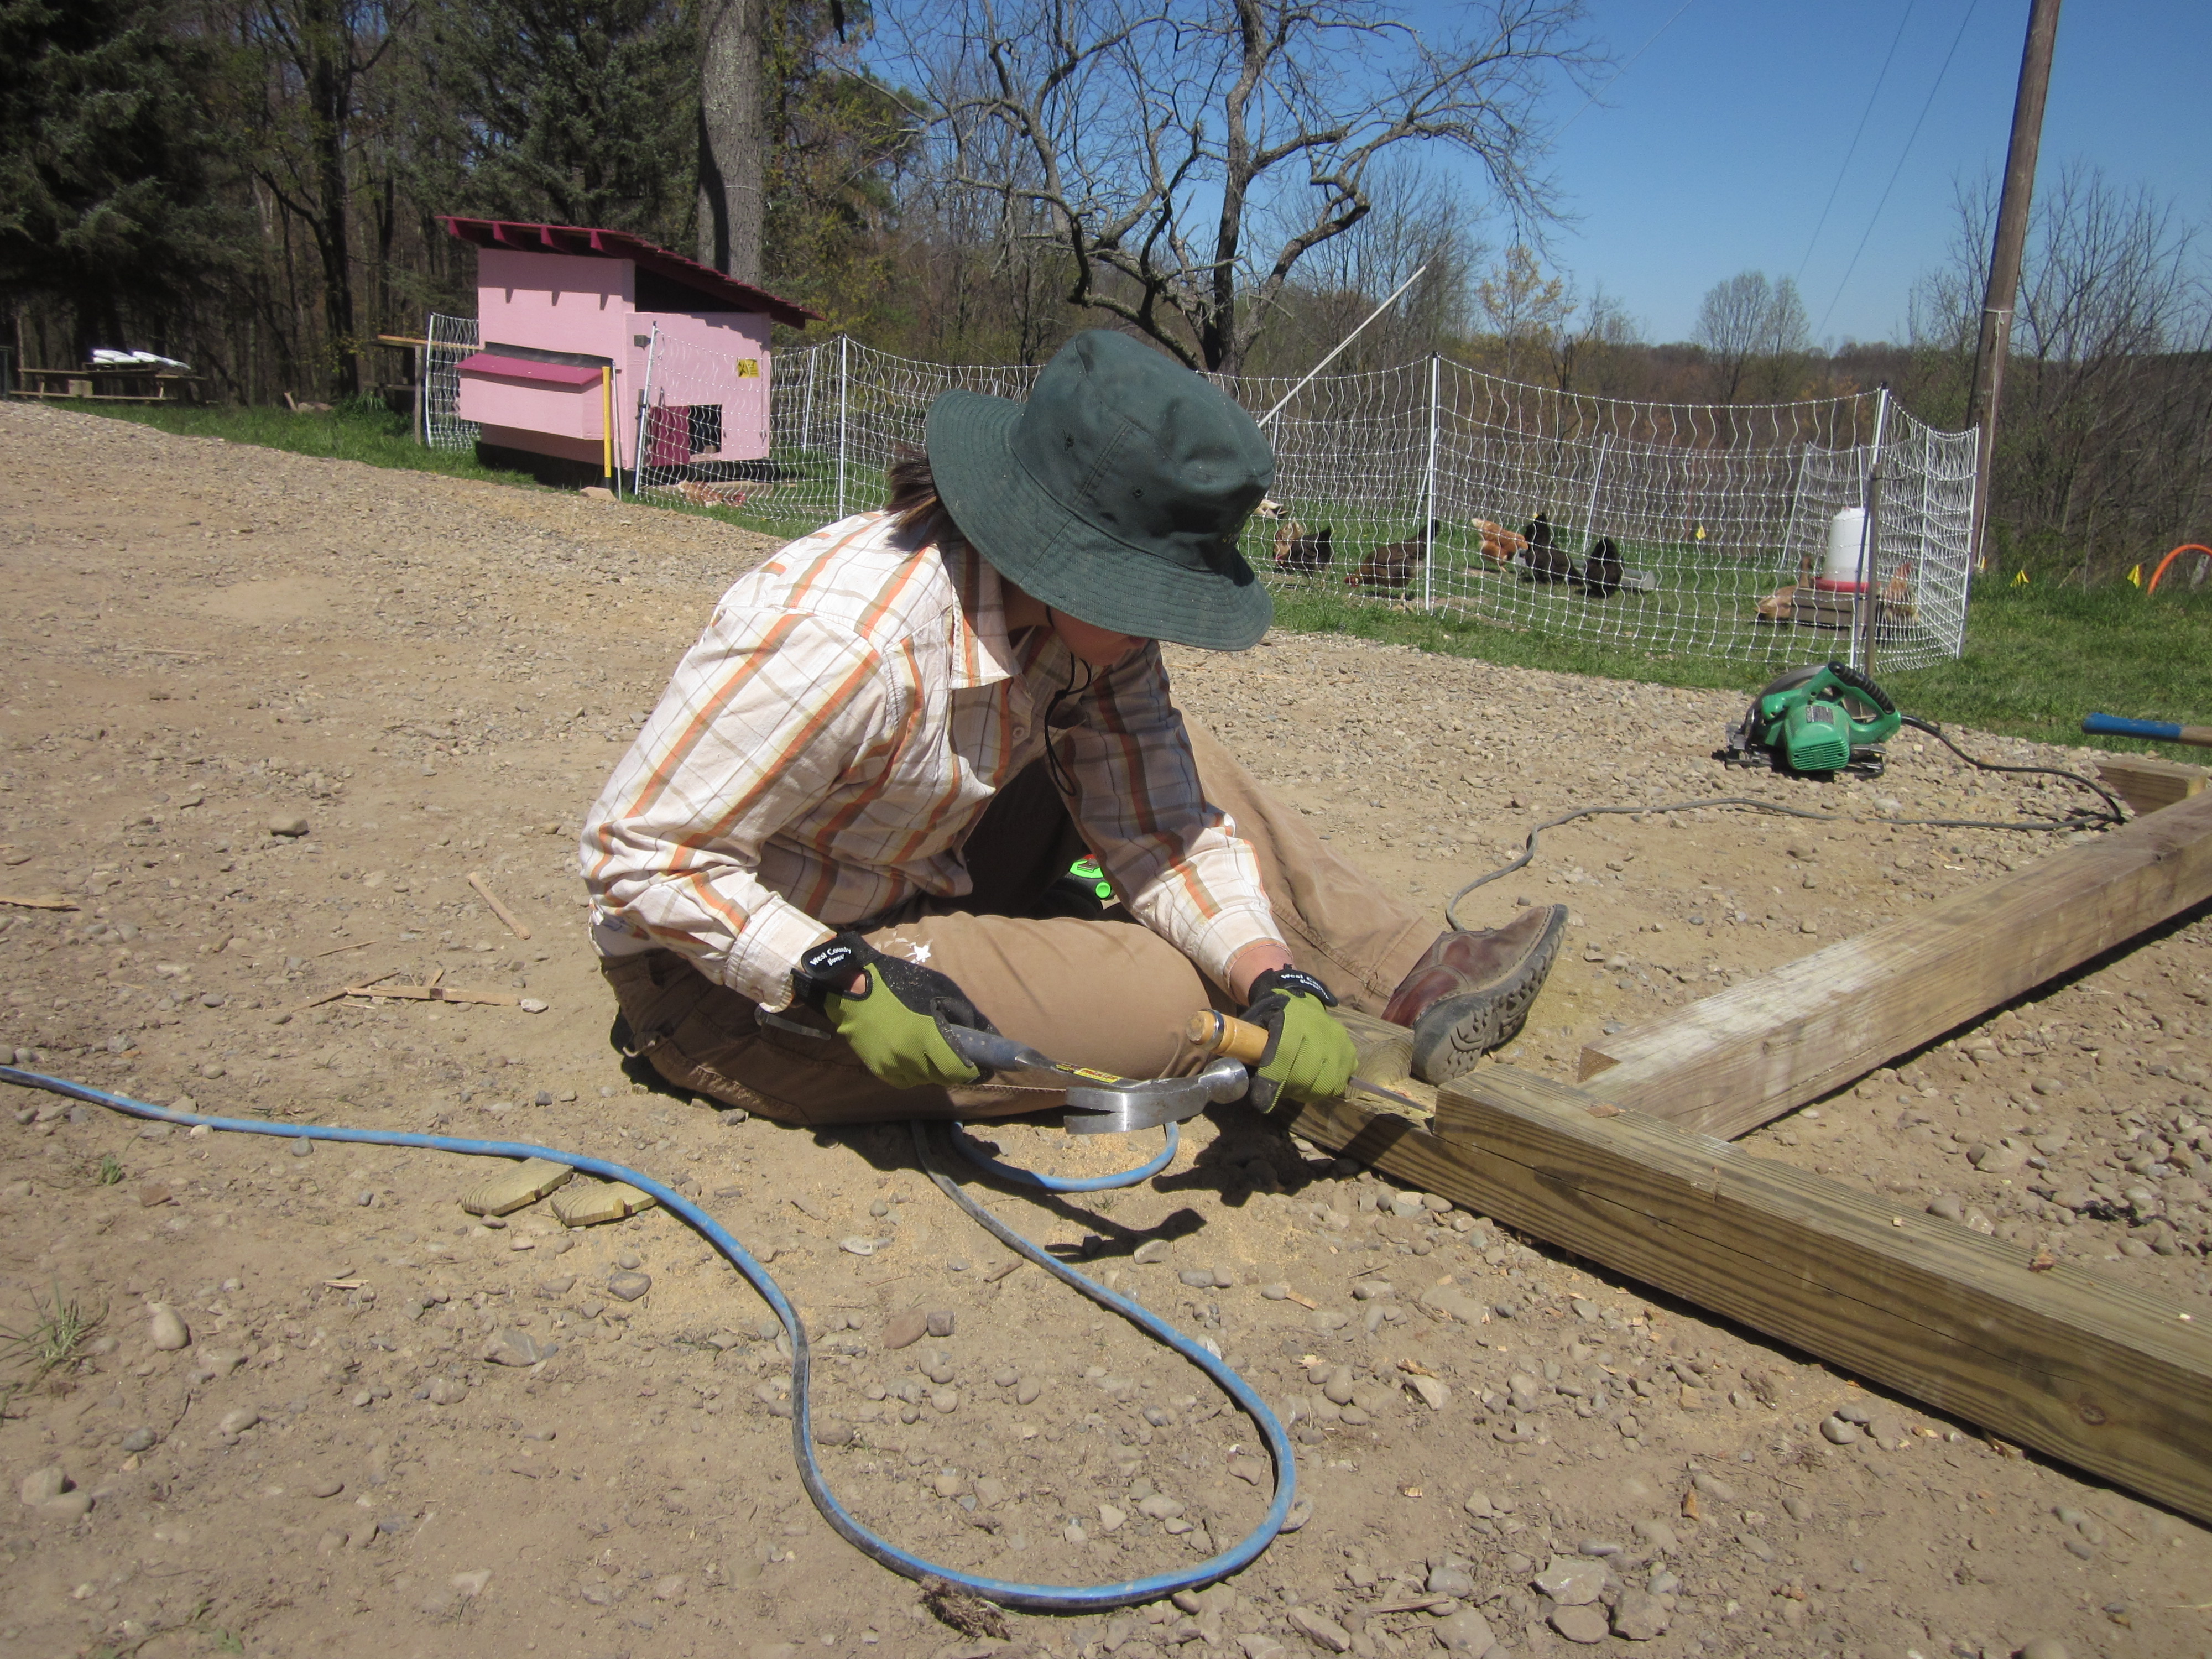
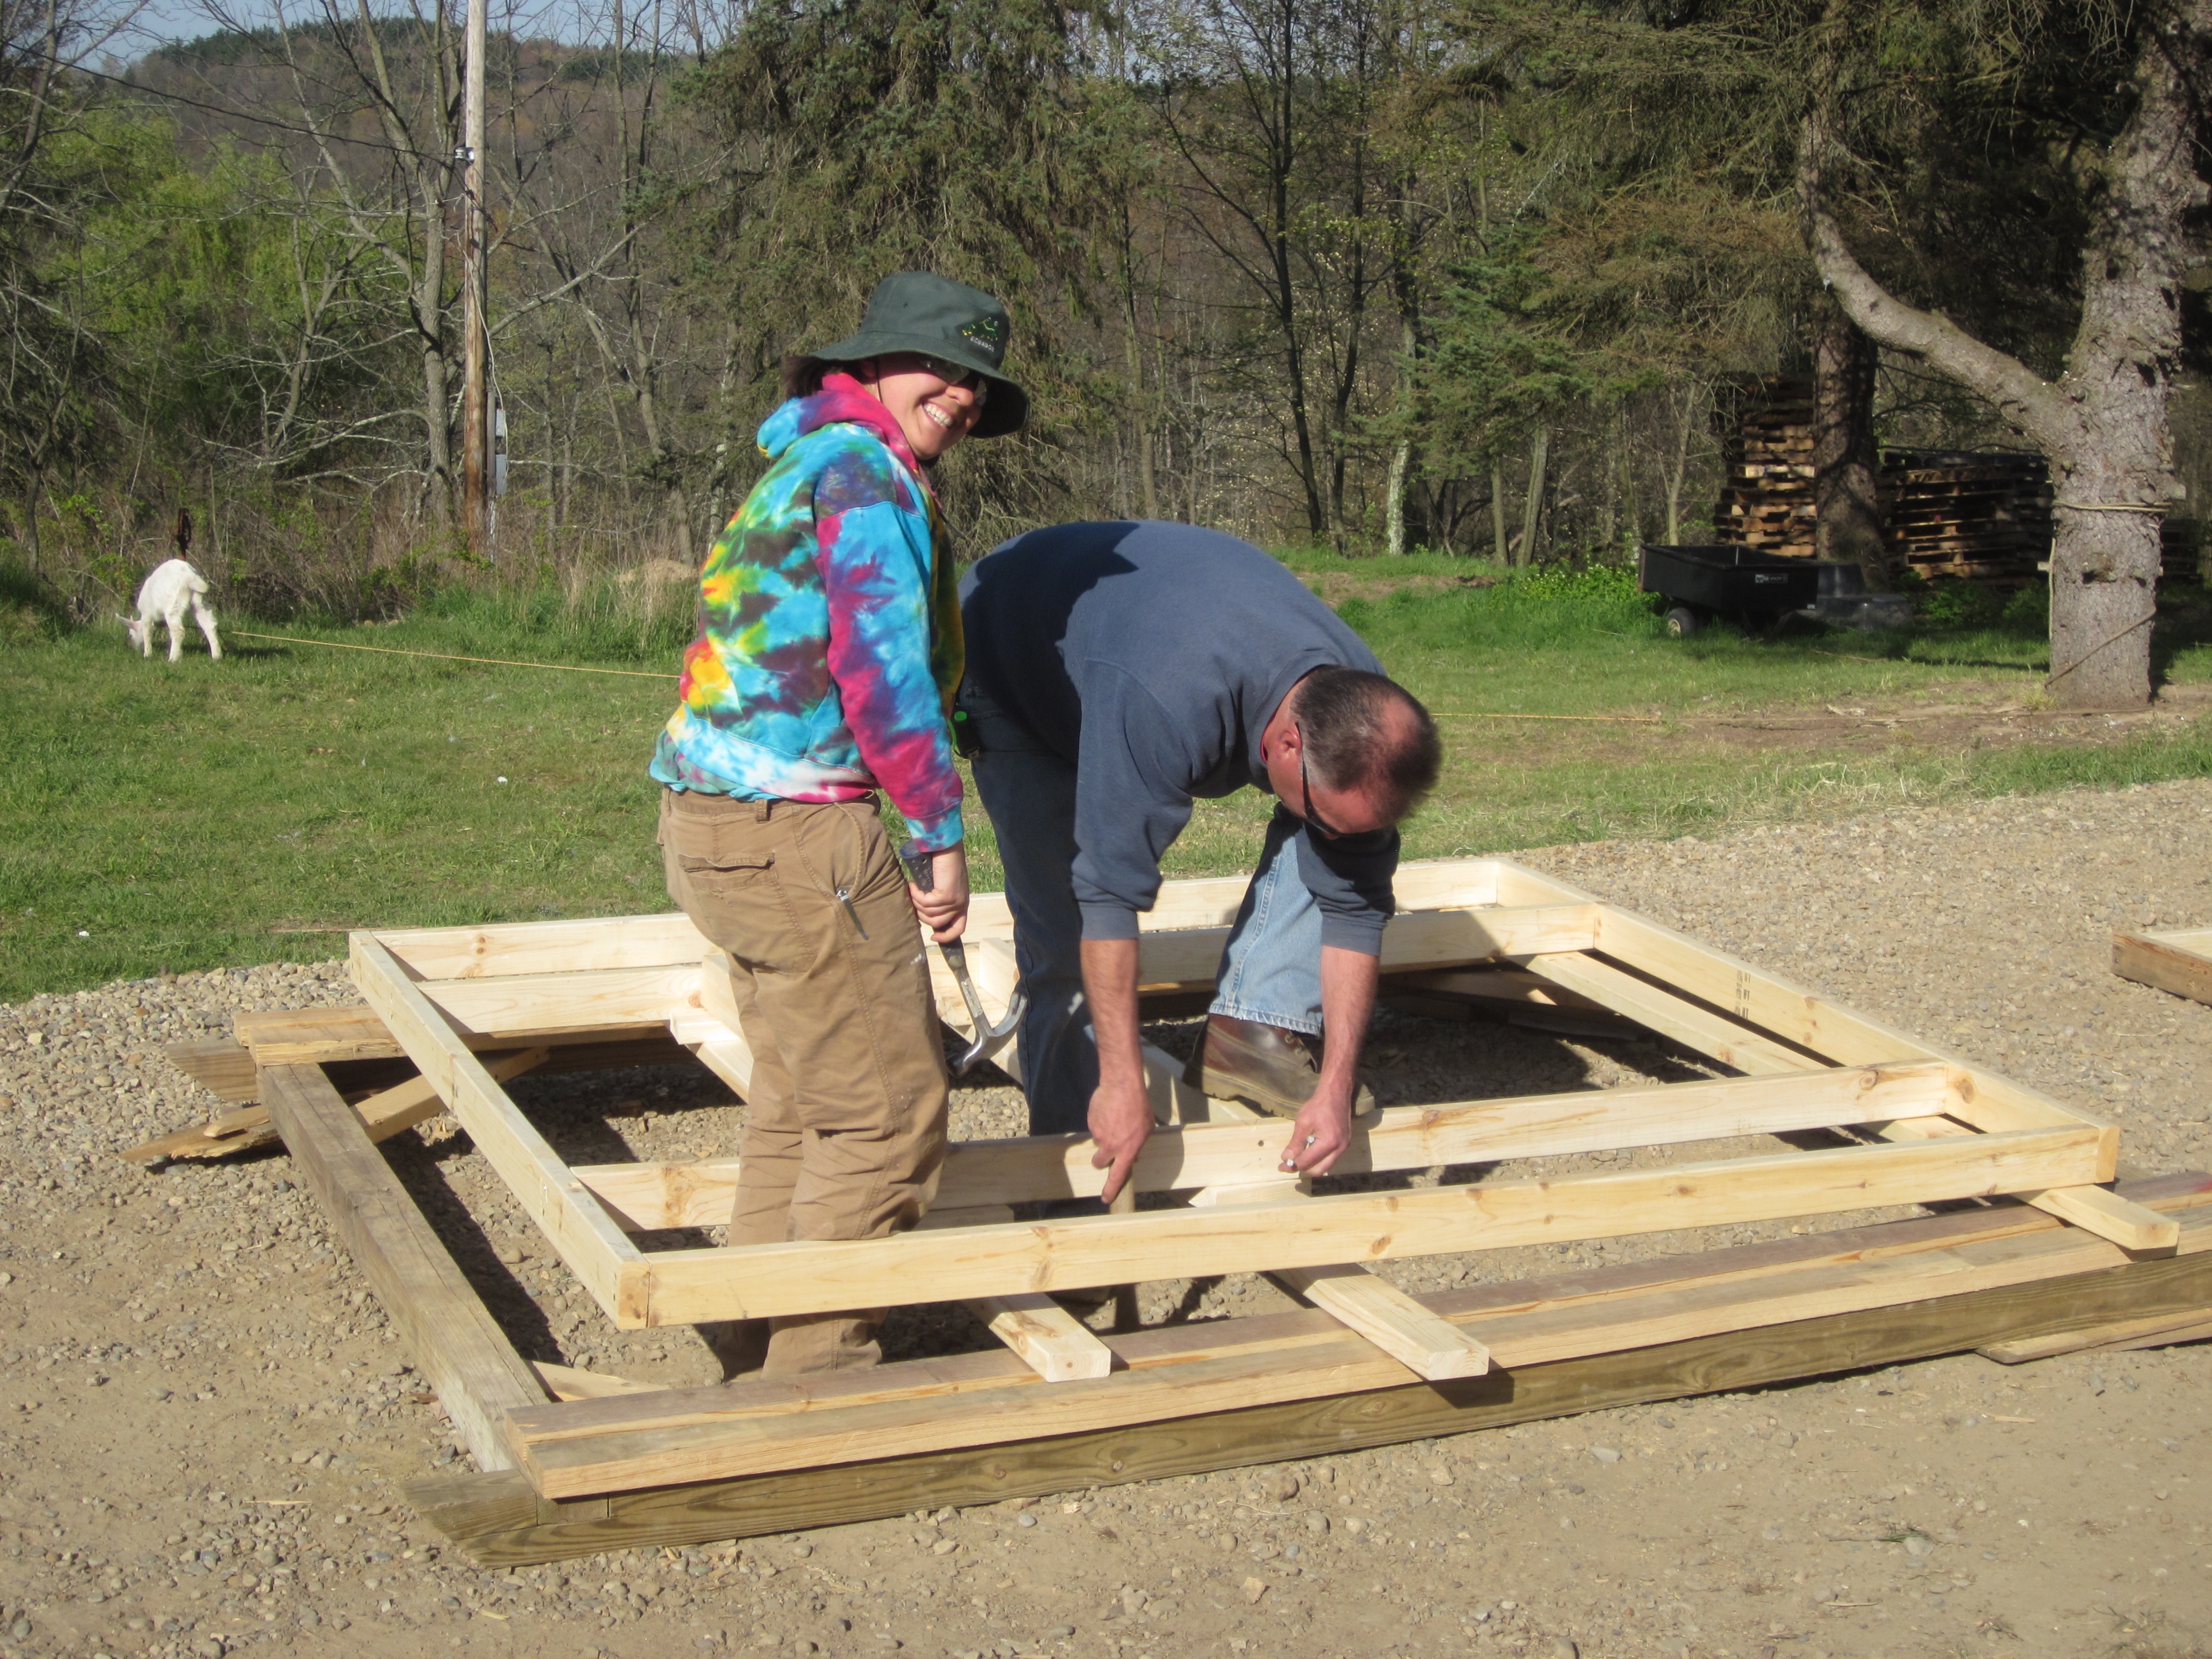
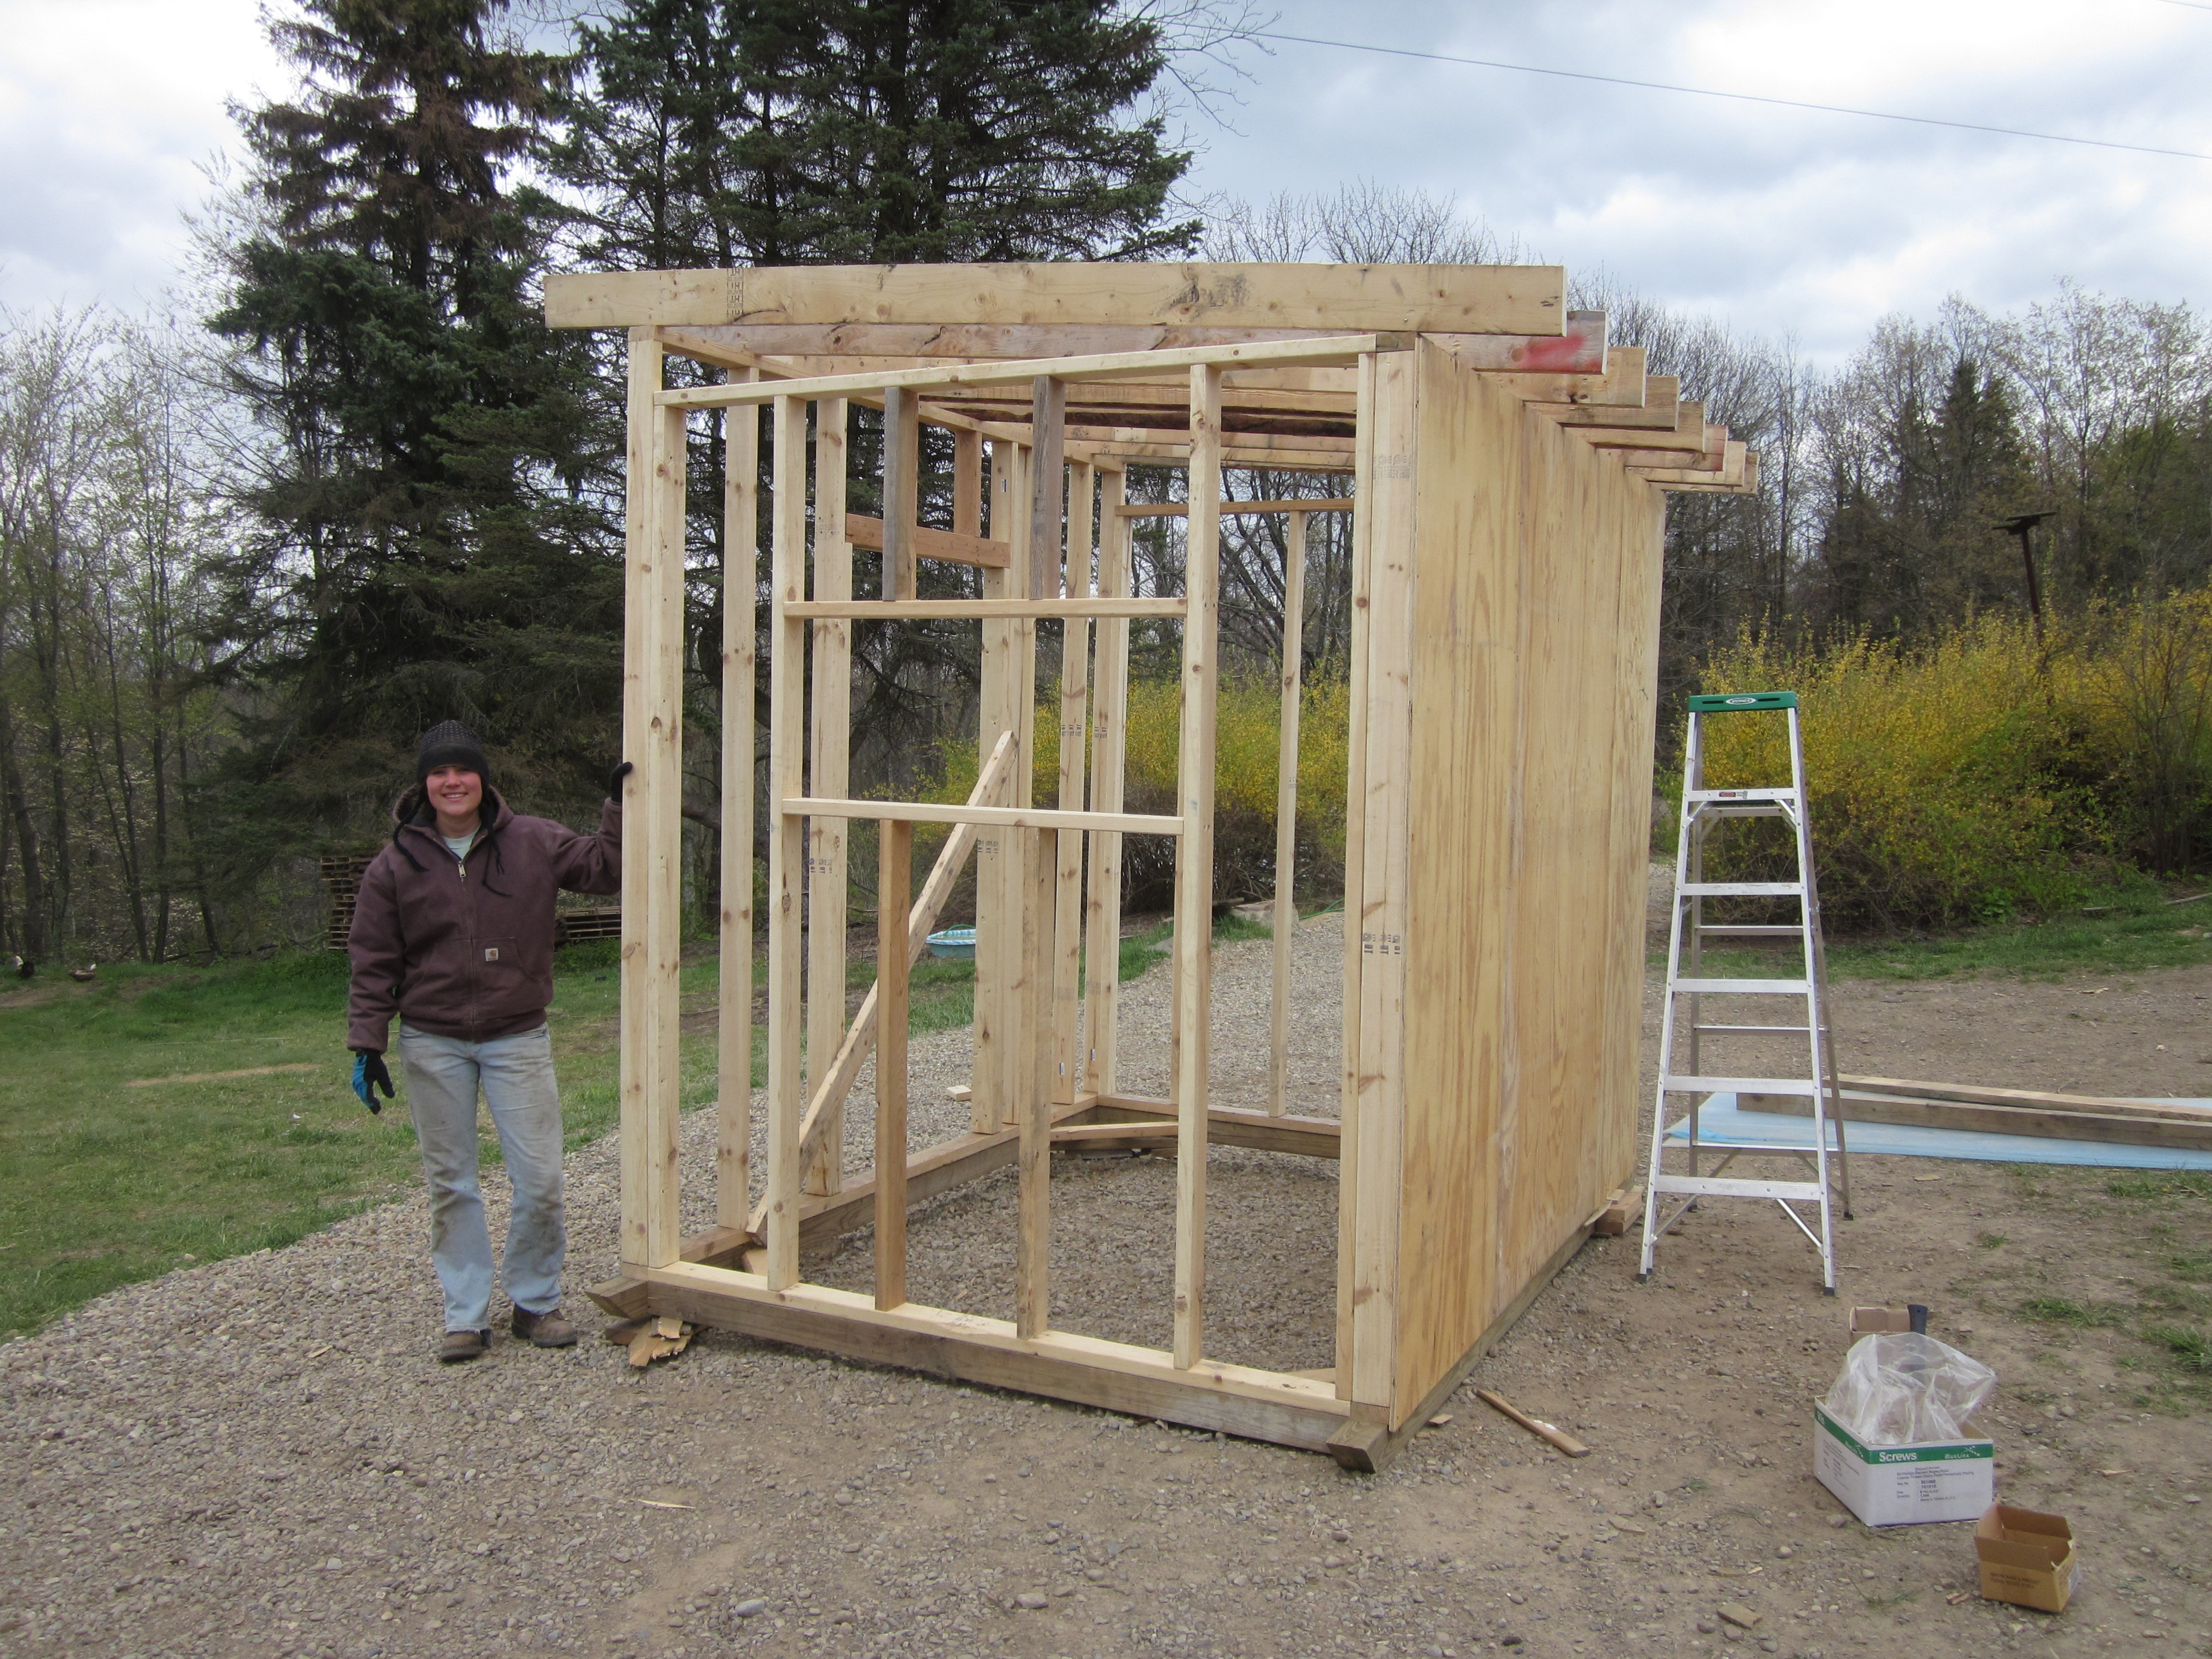
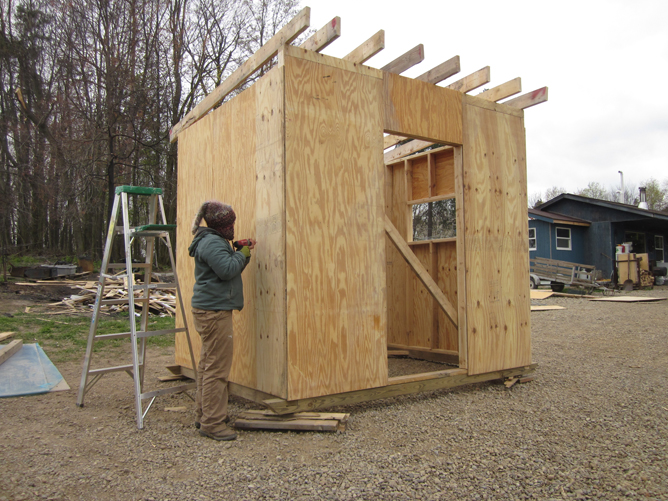
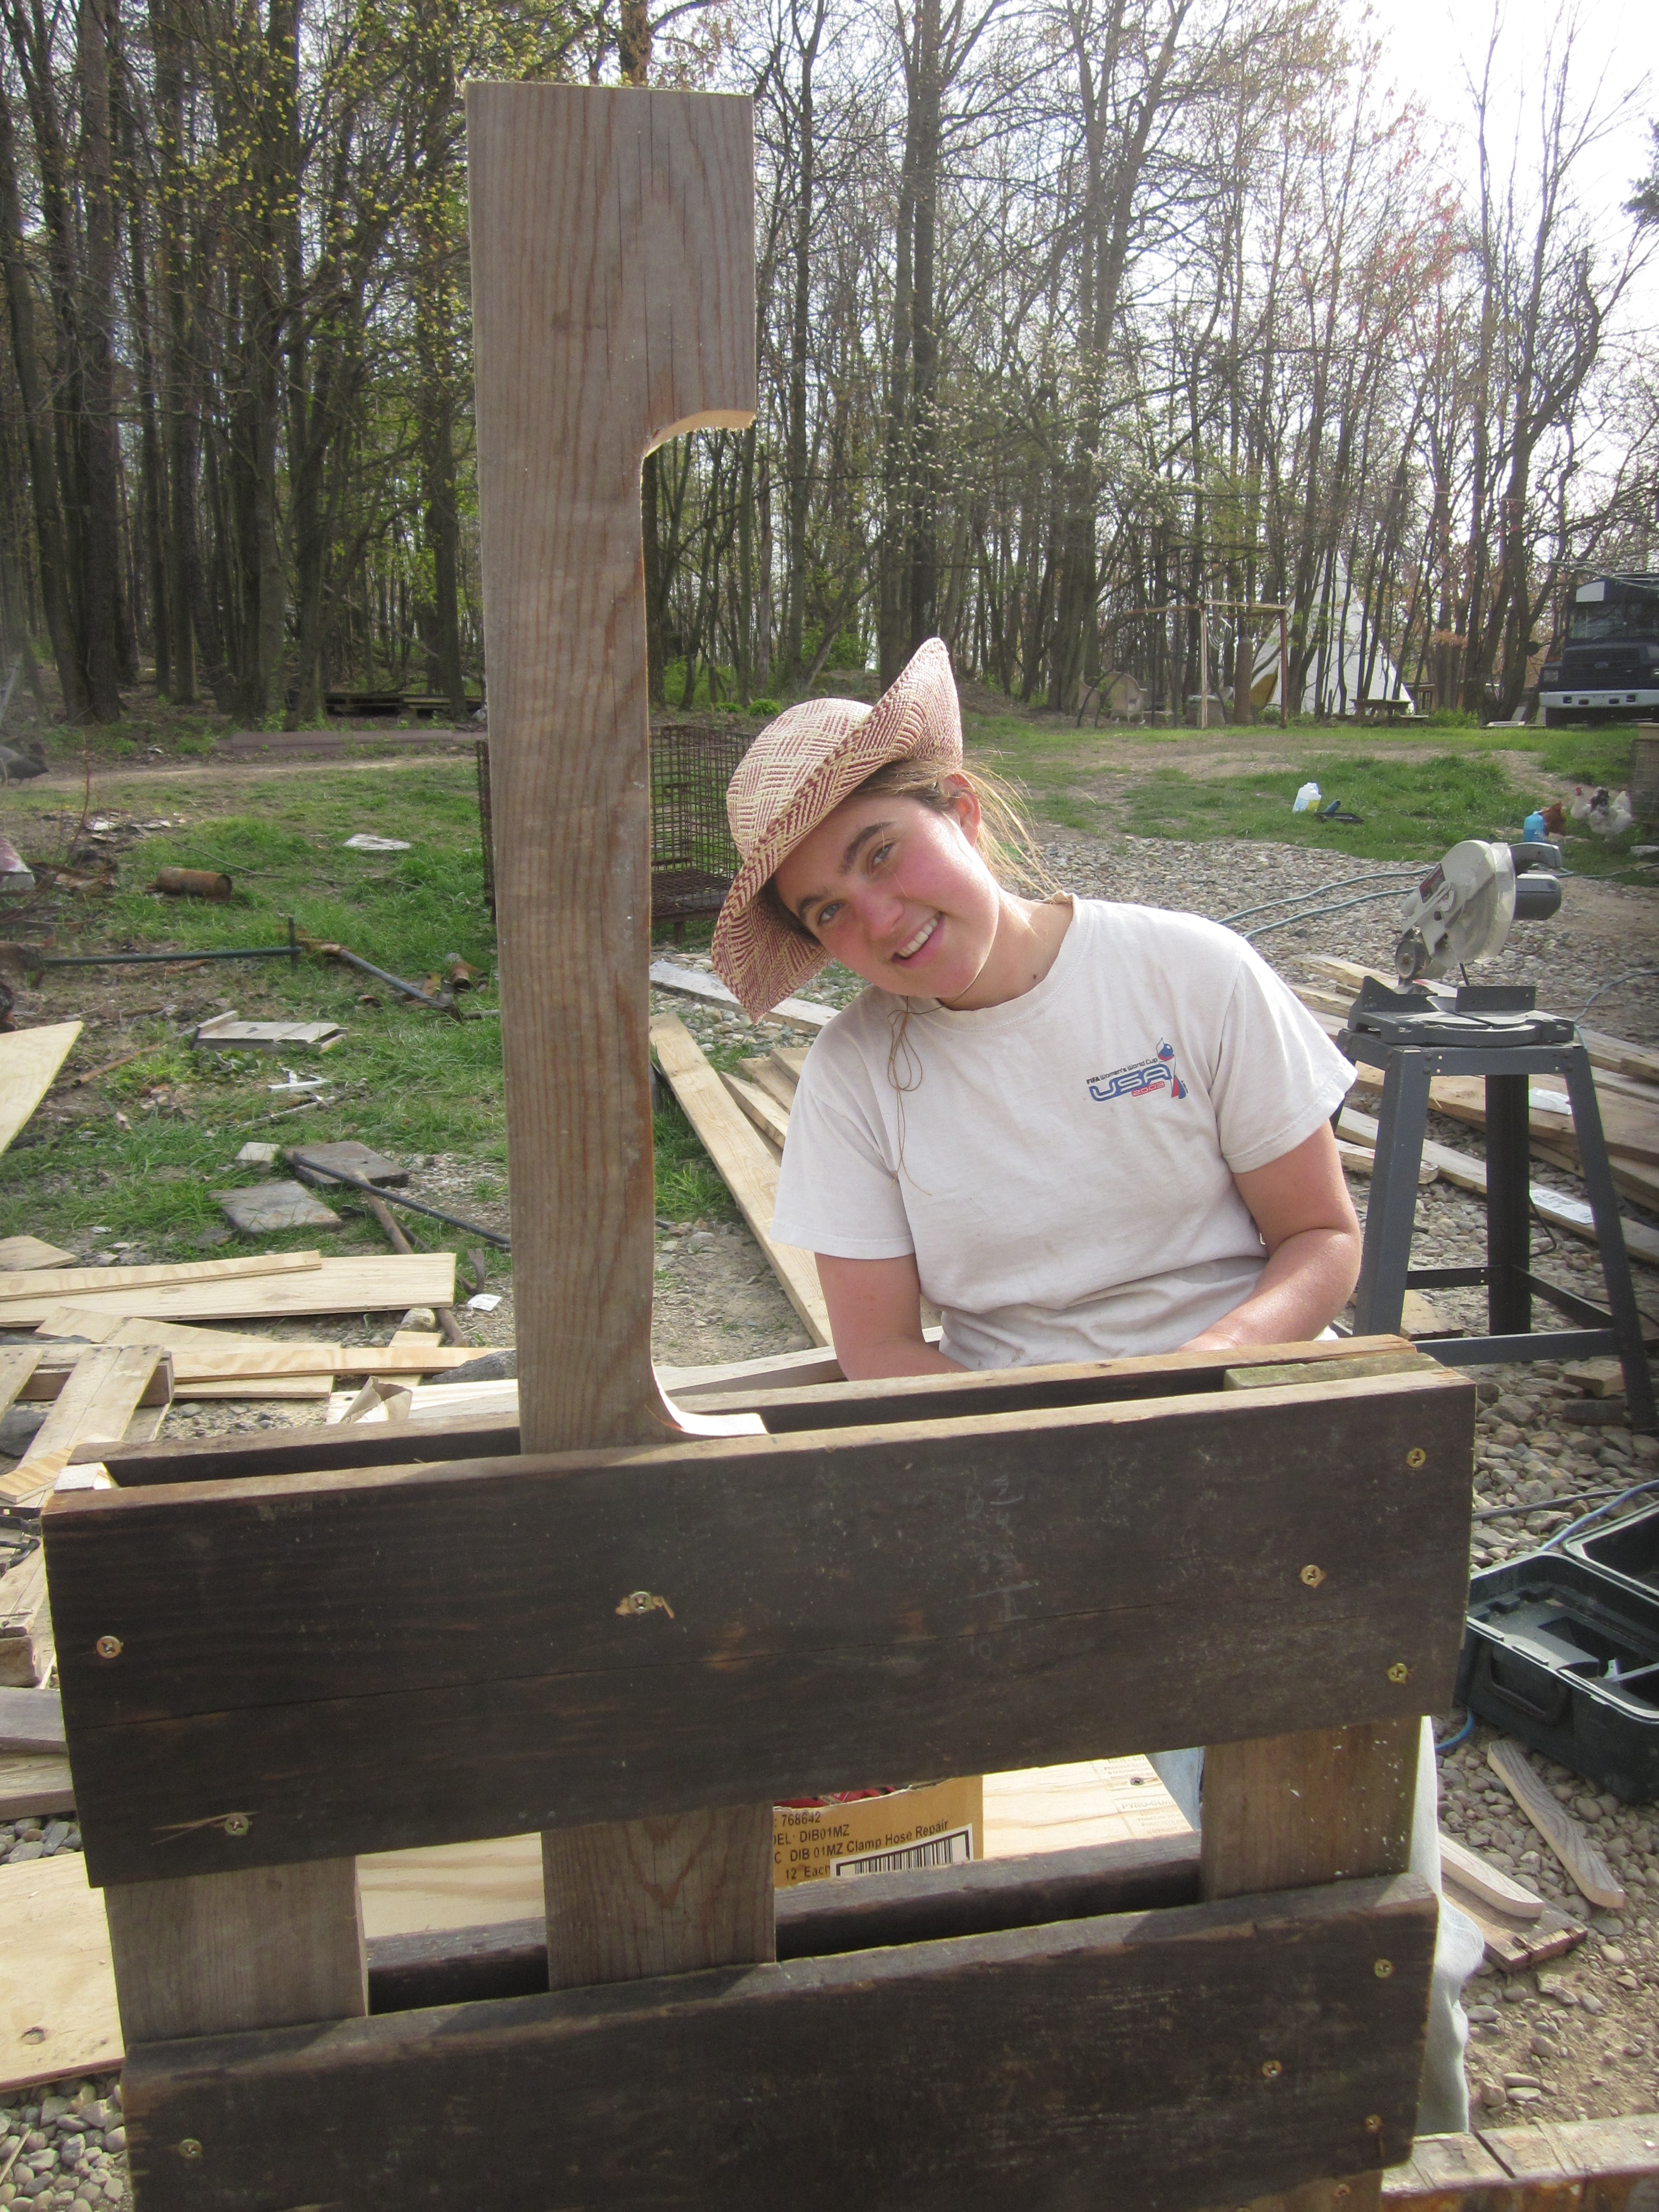
Now it was time to get started. We went back to our stack of free glass shipping pallets from FabTek and started tearing them apart for lumber. In one day, we had taken apart all of the rest of the pallets and ended up with loads of 2×6′s and 2×8′s for our building. Then, we used old 4×4′s from a reclaimed fence as our skids for the bottom frame of the building. Unlike the chicken coop, we decided to keep this skid barn floorless for ease of cleaning and ease of moving. We used timber frame notching on our skid frame to support the building and avoid shifting during moves. We started ripping our 2×4′s for stud material from the reclaimed 2×8′s and found that our tools were inadequate for the job, so we had to settle for mostly new 2×4′s for the wall framing.
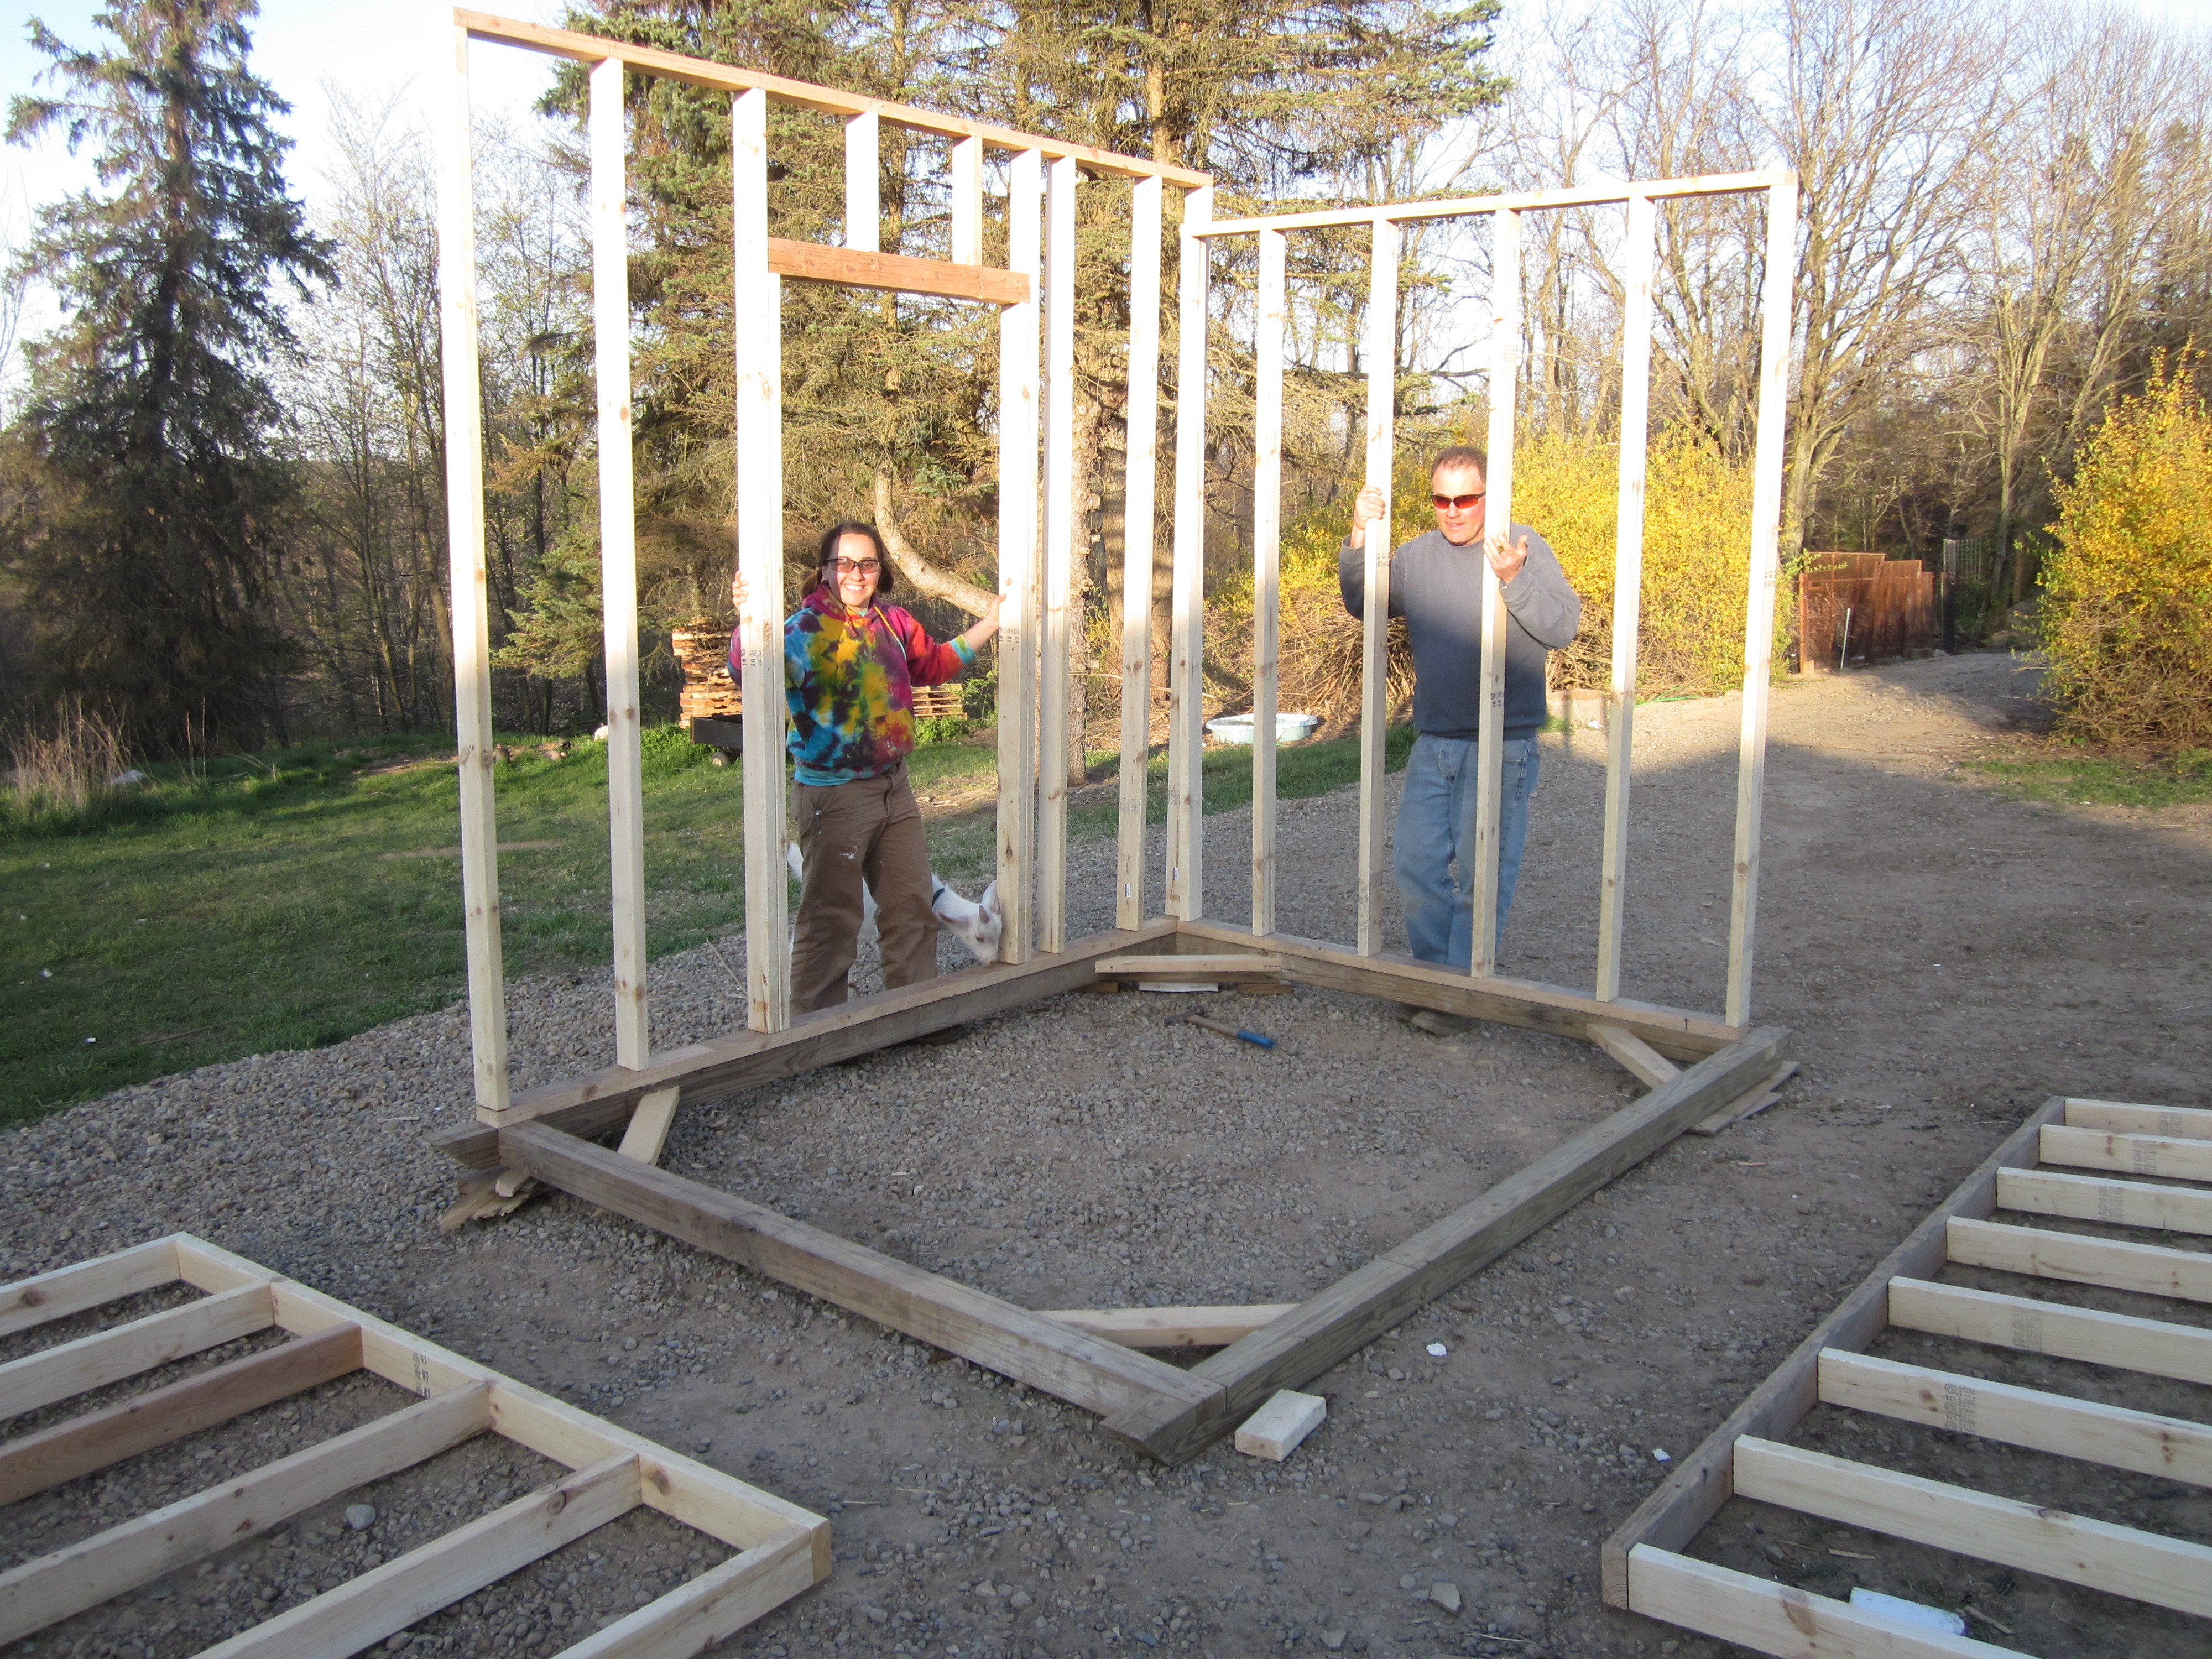
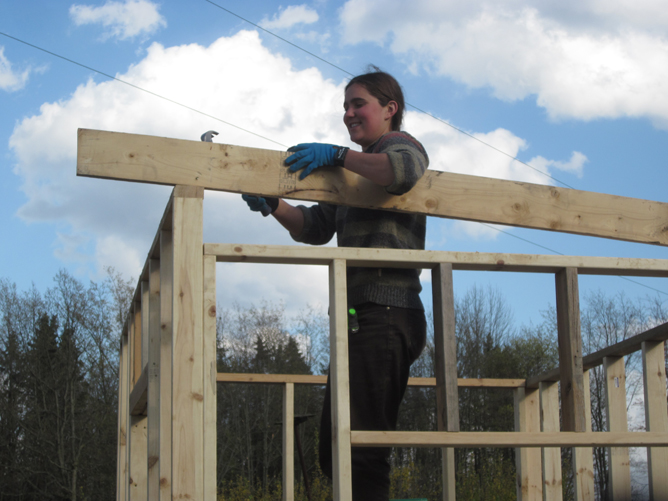
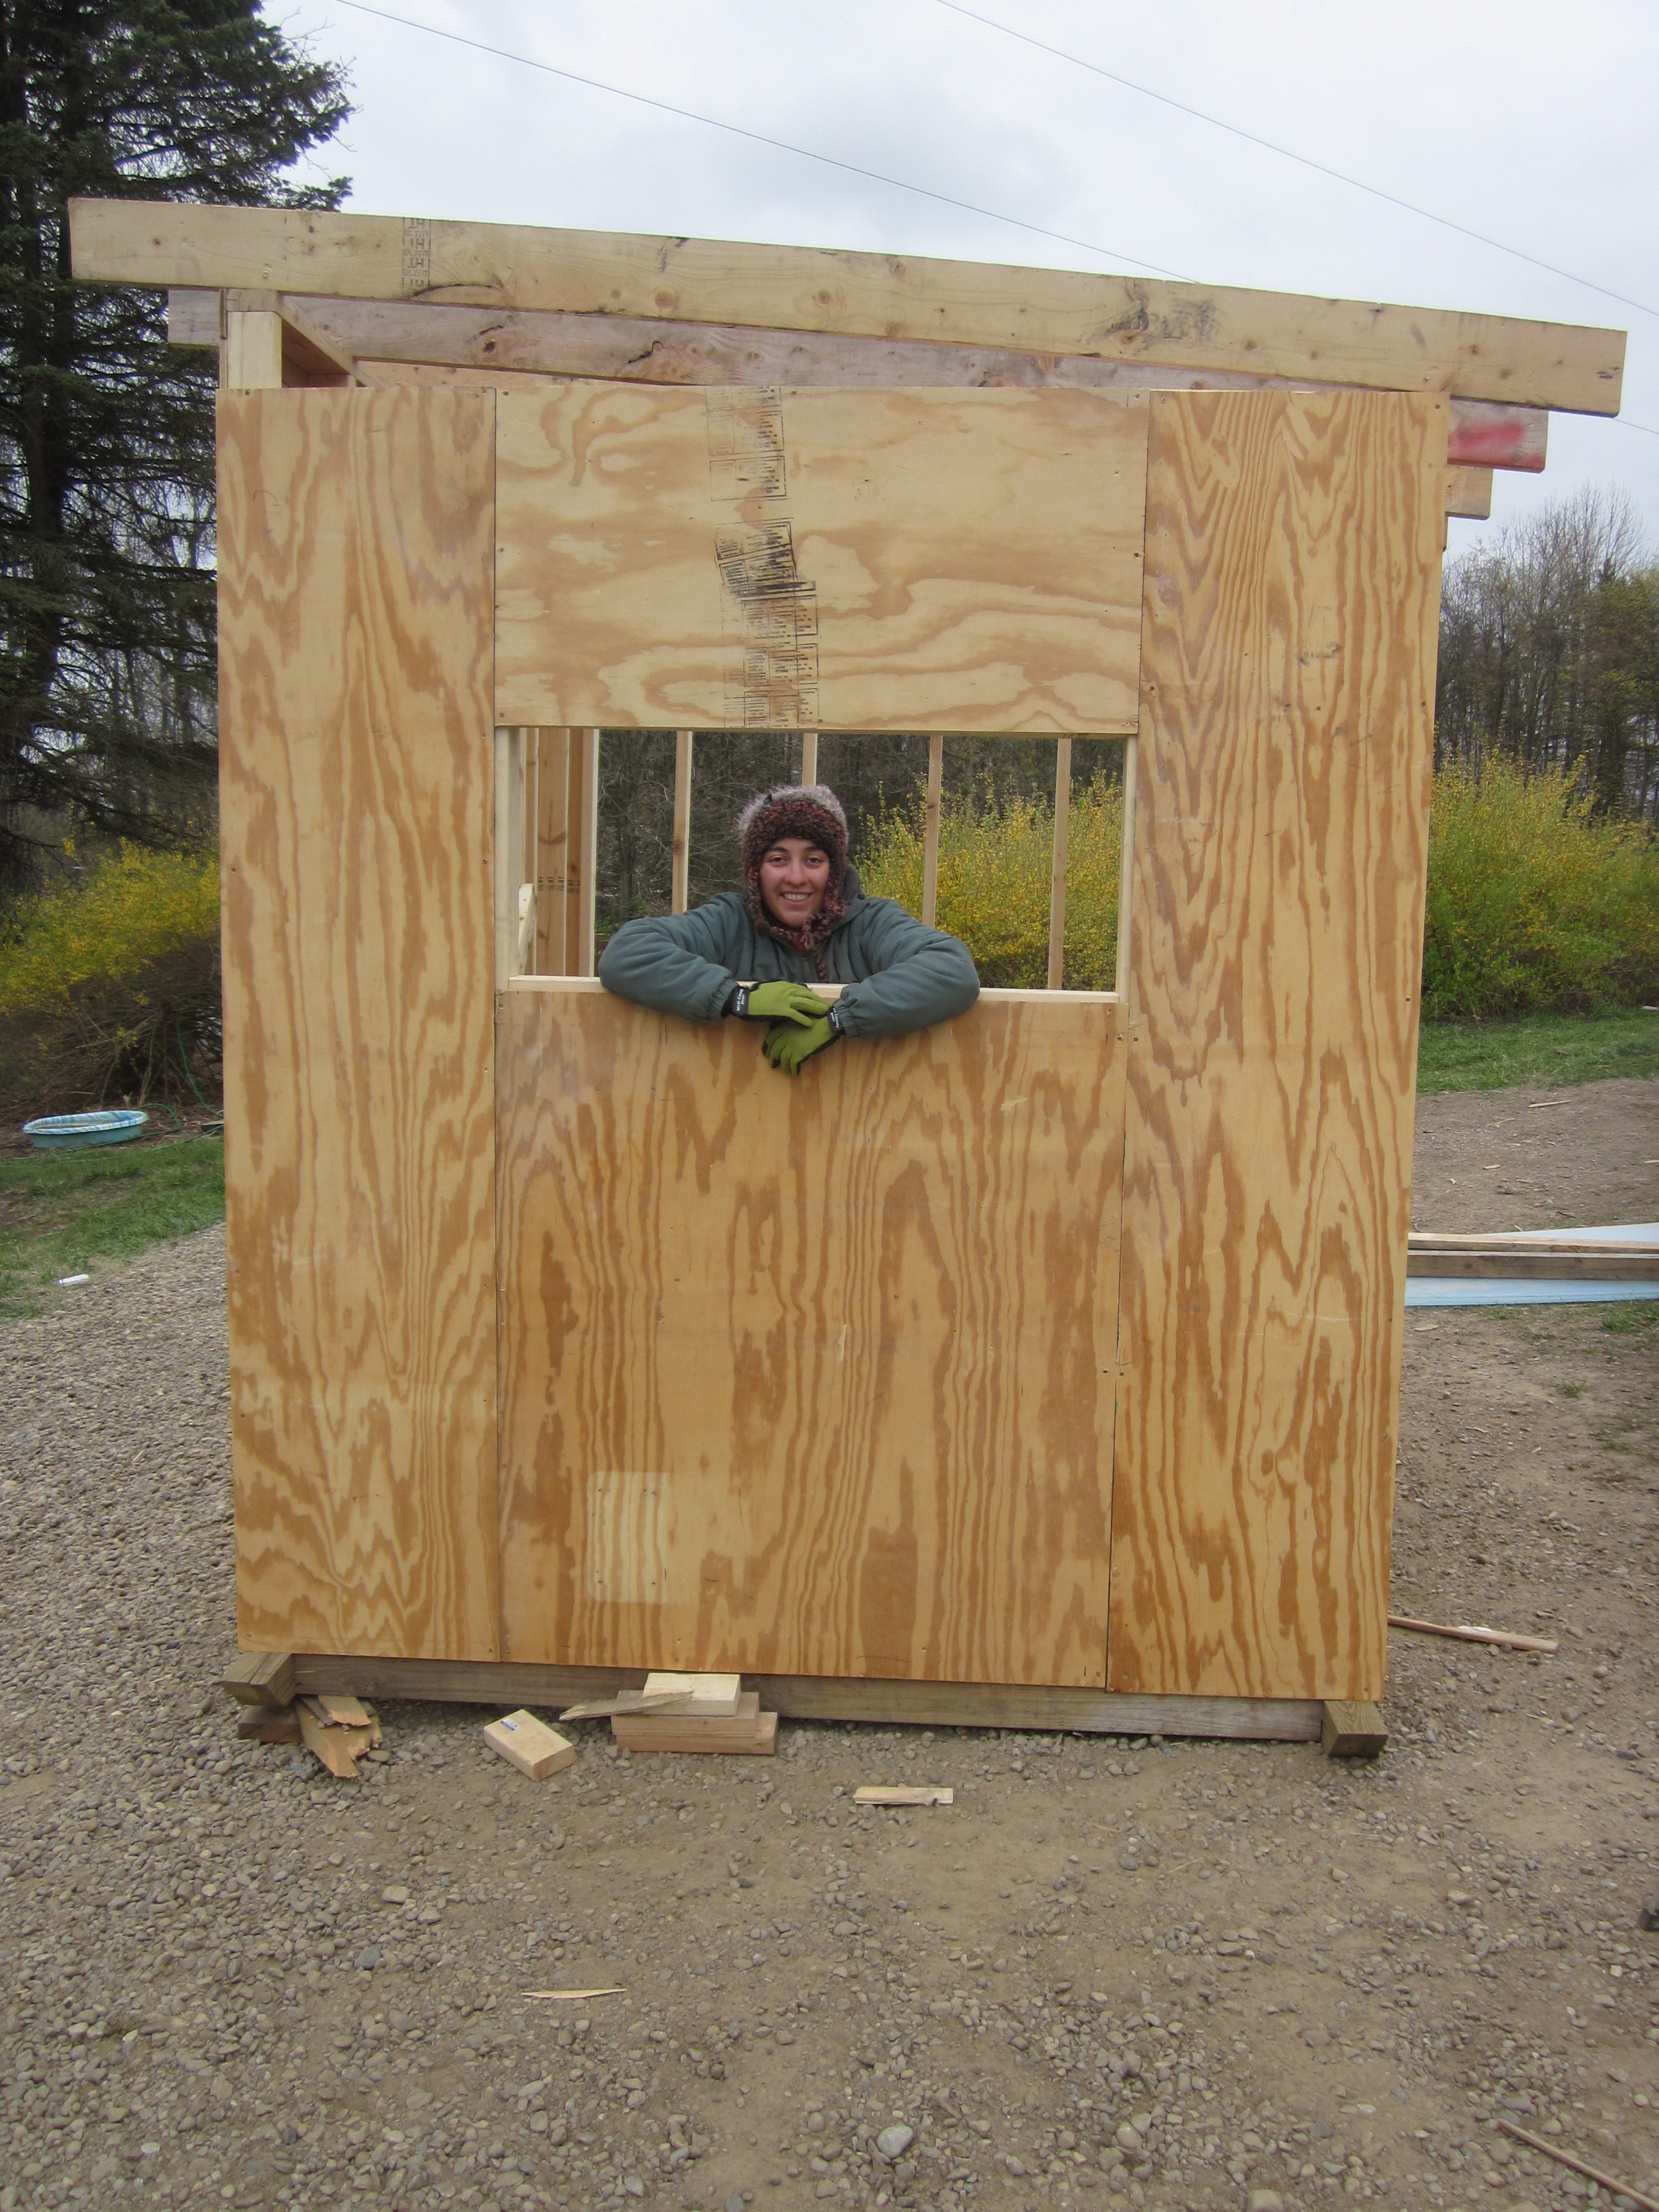
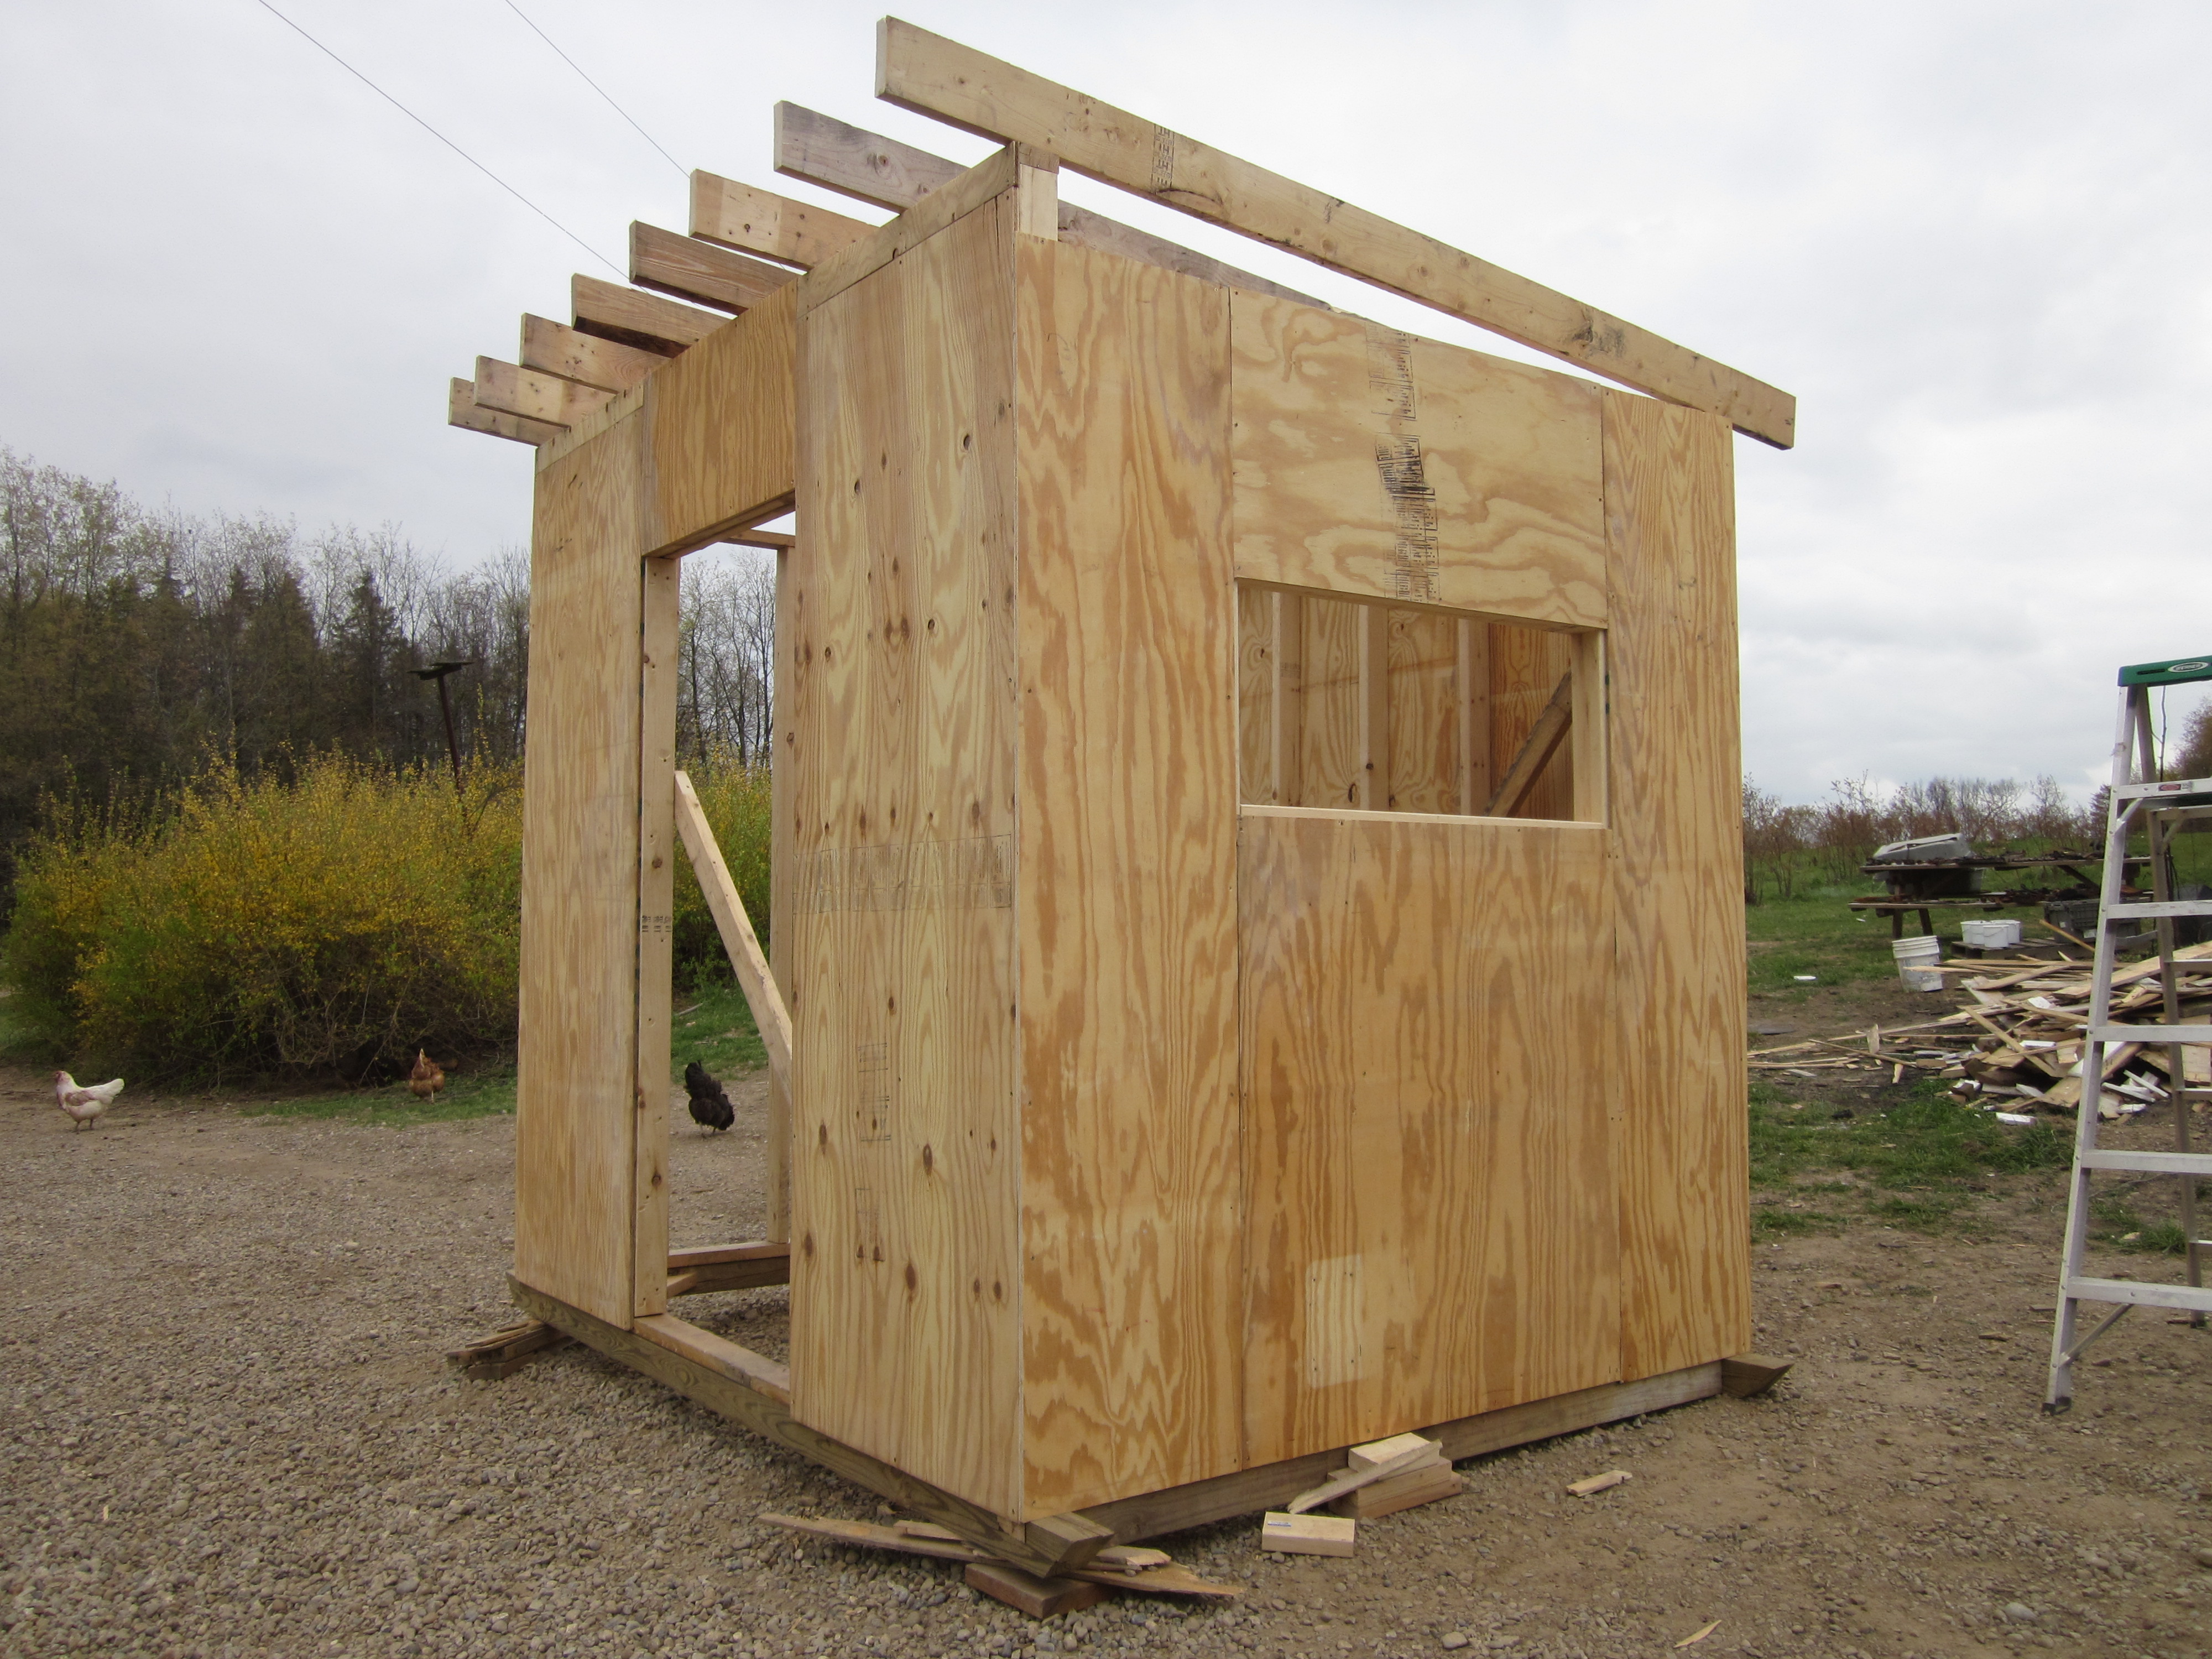
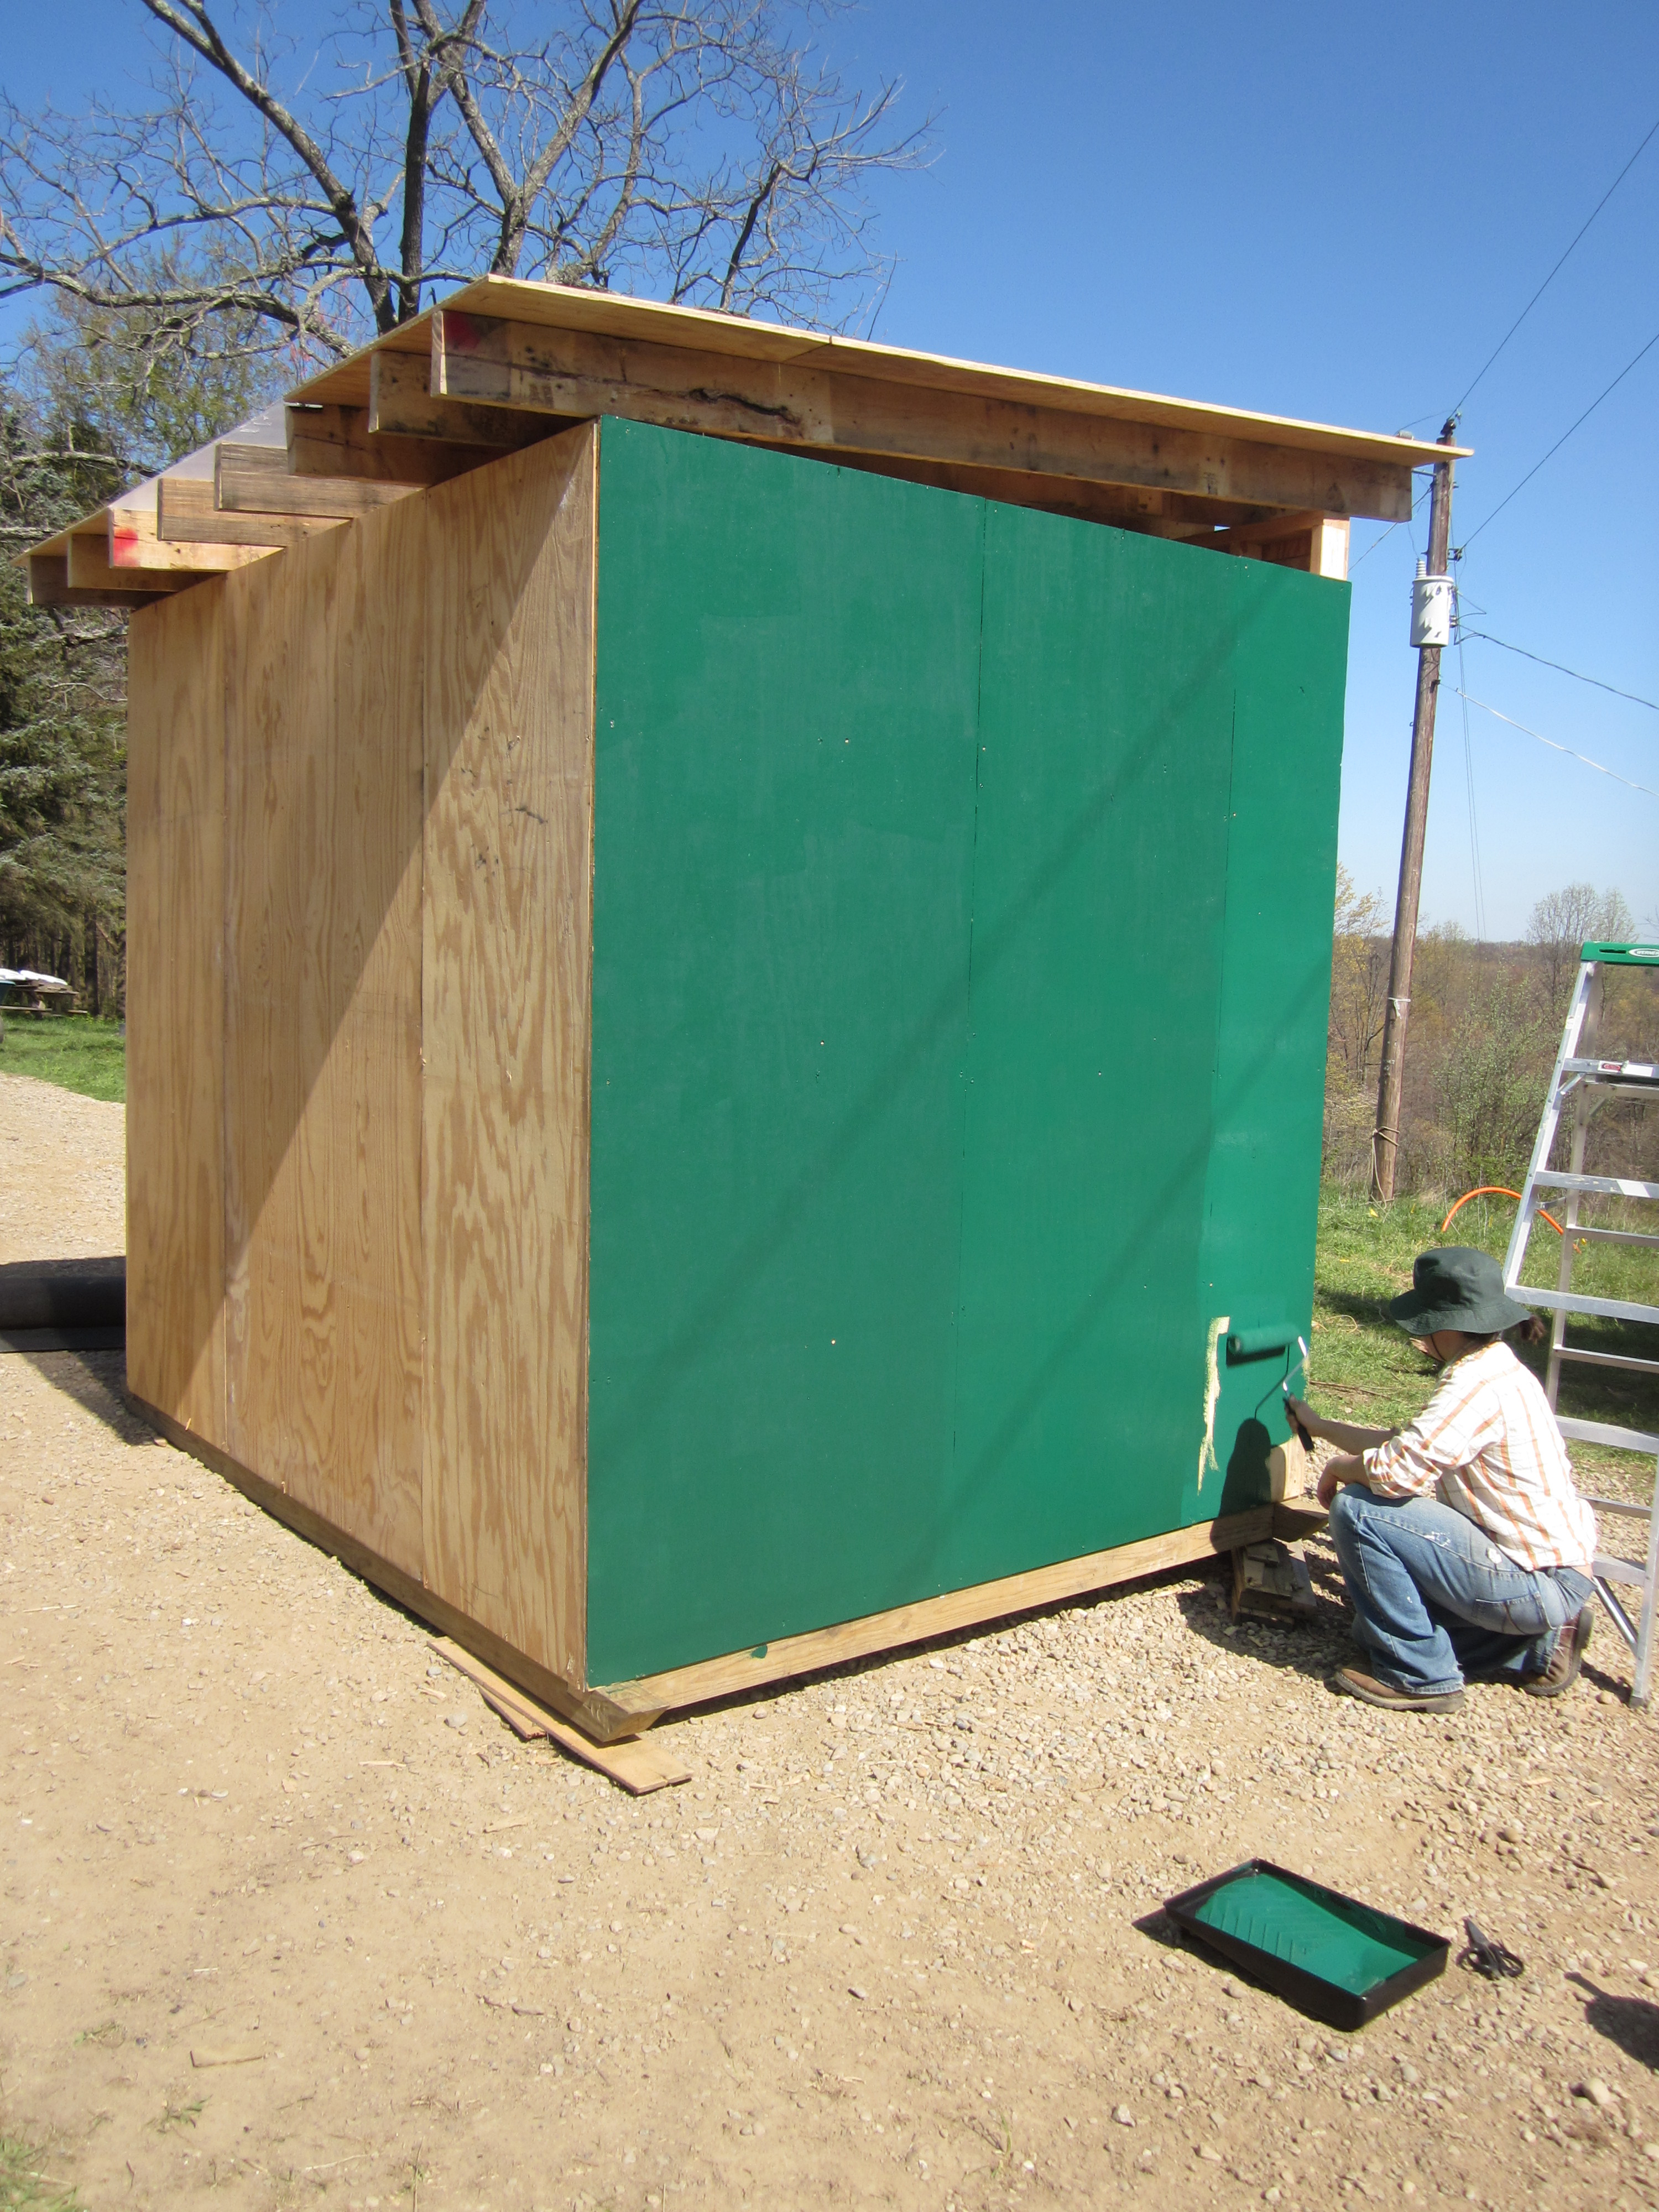
Chelsea’s dad helped us with the wall framing, which really got our project moving quickly. In one day, we raised all four walls and were ready for the roof rafters. The next day, we used the reclaimed 2×6′s for our roof rafters and screwed down our roofing. We then built our walls with 3/4” plywood that were scraps from a builder who sold them for next to nothing. We cut out a dutch door for the goats, and made a door for the hay feeder that allows us to load it from outside of the fenced area. When it was all put together, we painted it with mis-tinted outdoor acrylic paint that we found for $5/gallon at the local hardware store.
Our project total was a little higher than anticipated on this building, mostly due to using some new 2×4′s to speed our progress. Our lumber total was around $80. We needed to buy screws and latches because we lost most of them in the garage fire, so that added another $30. The paints we used were $15, and we needed to buy one section of metal roofing for the shed, which was $25. We could have used spare shingles we had from other projects on the property, but our slope was not steep enough. This was one area we could have saved money, but in our haste to get the building built in a few days we did not think too hard about the roofing until we got to that point in the project. Our skid barn cost $150 in new materials and possibly about $70 more in used materials. This design has the potential to cost over $400 in new materials.
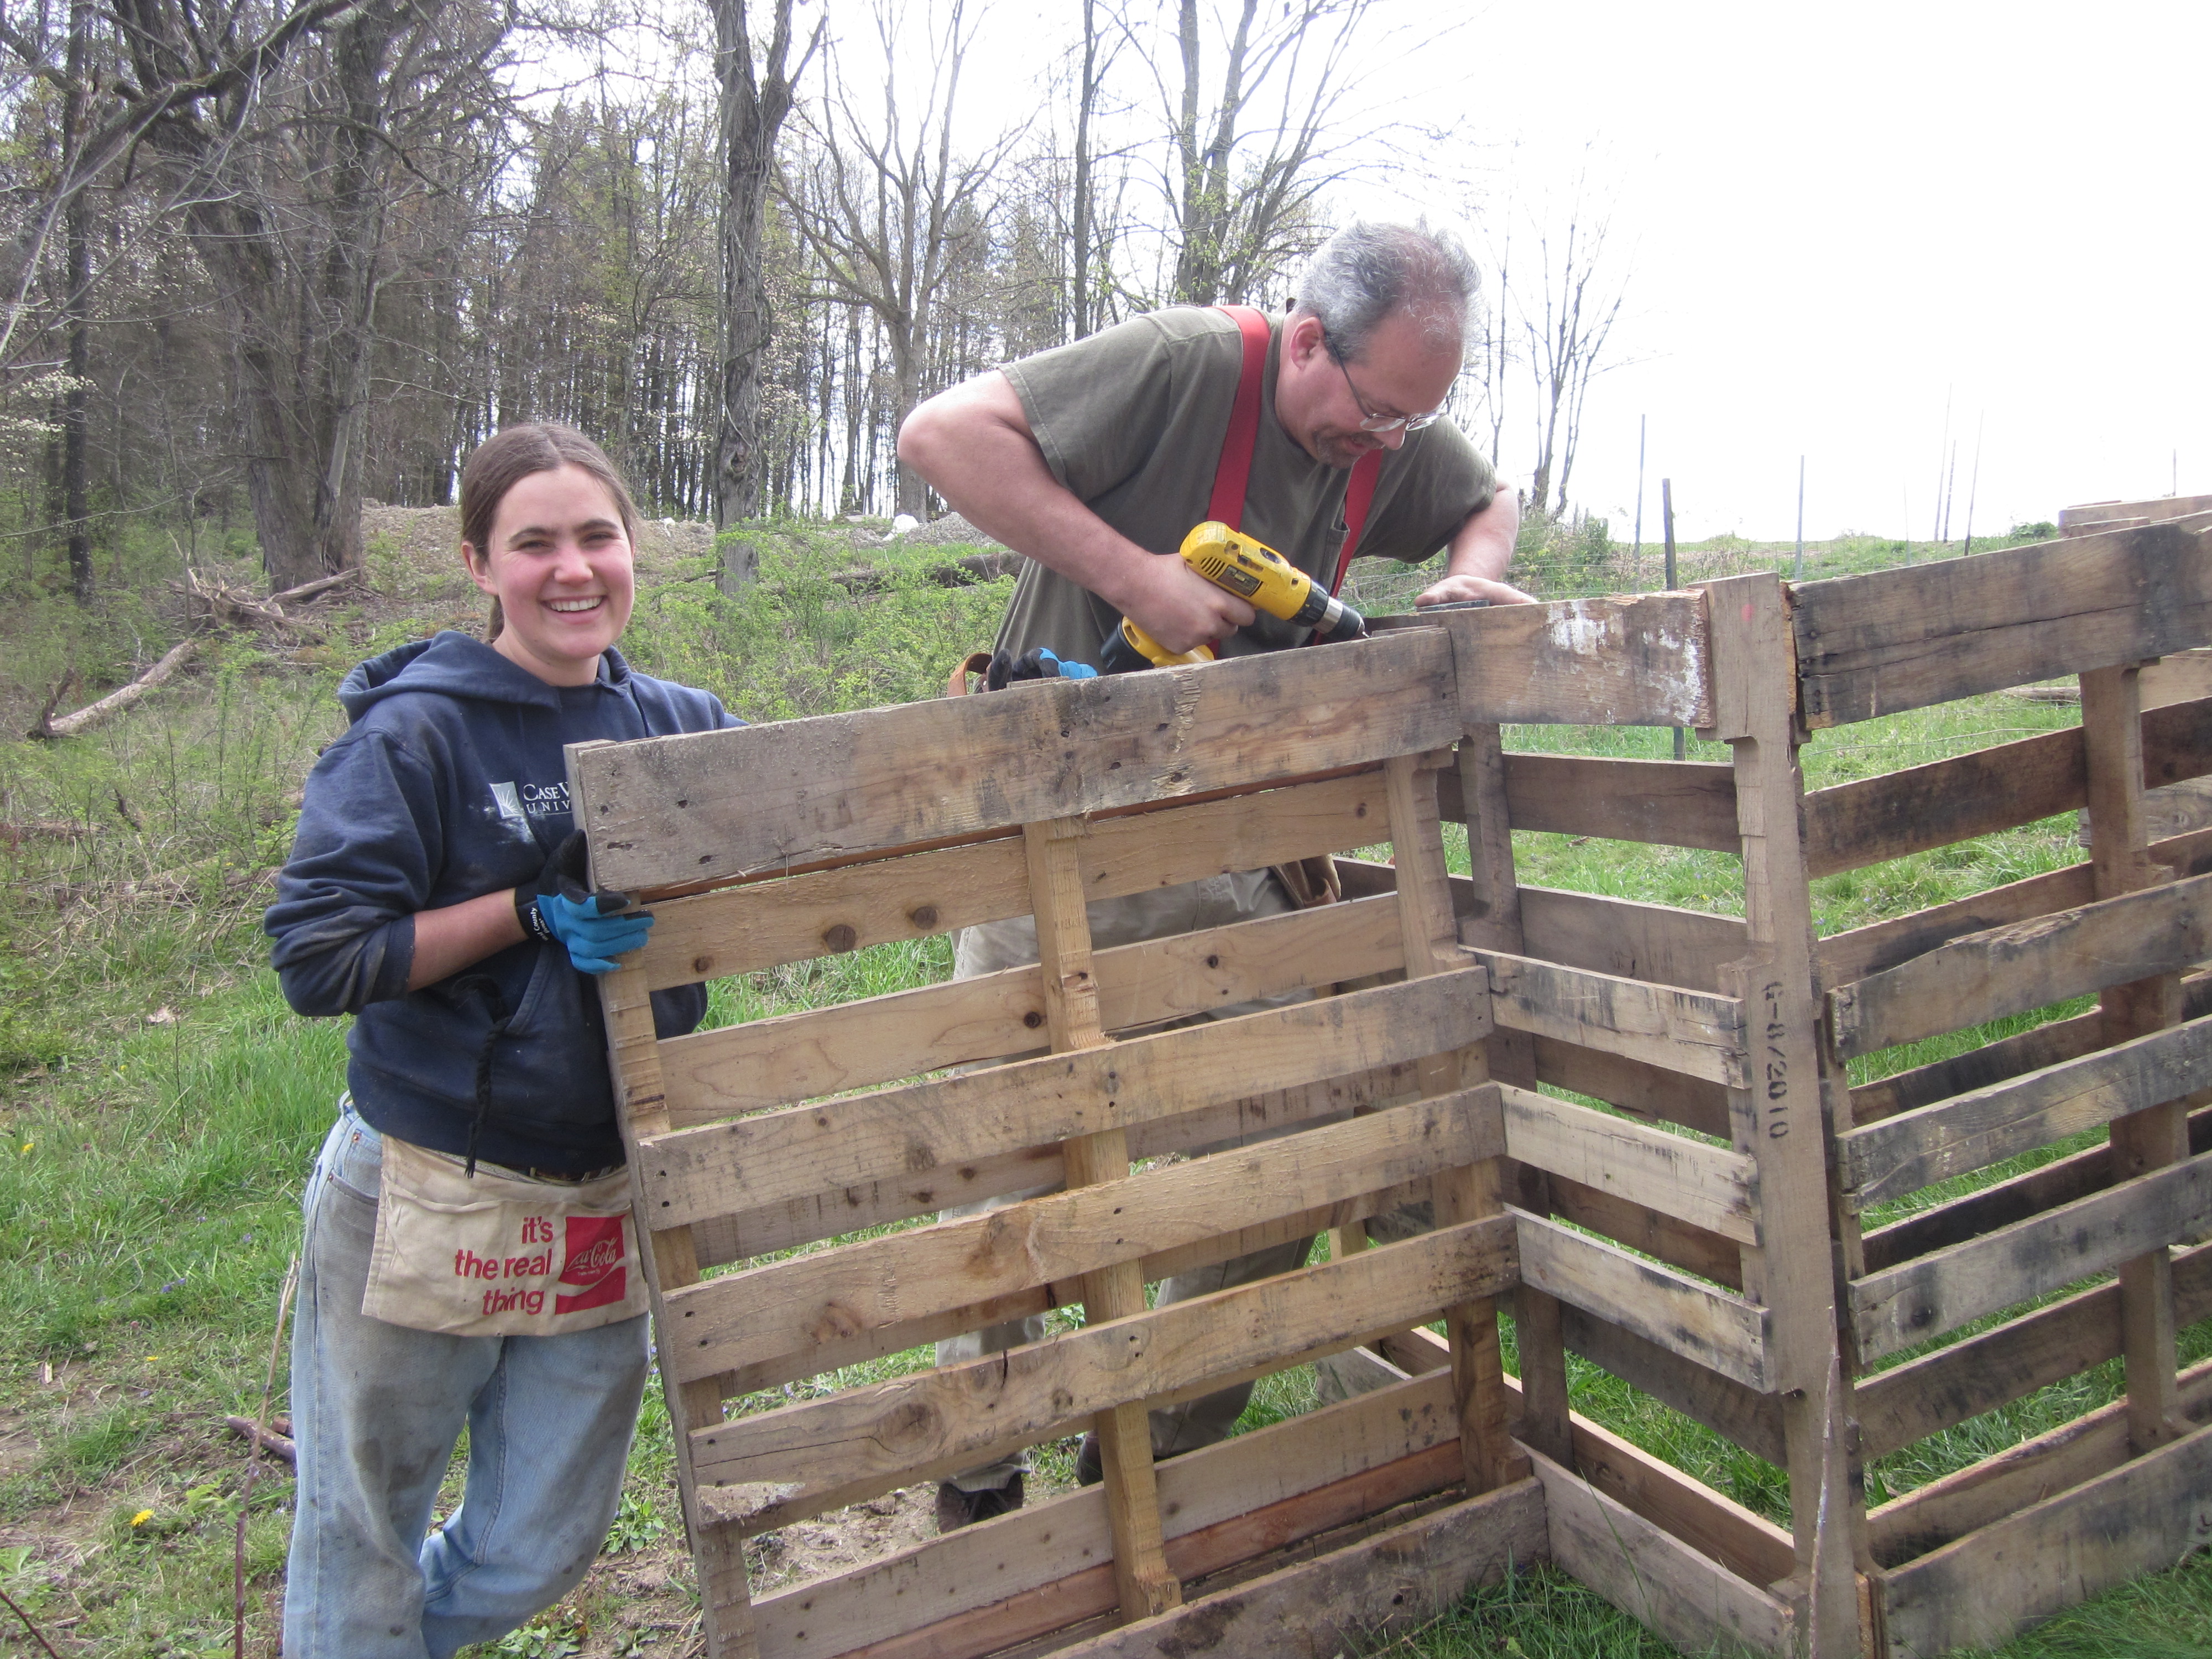
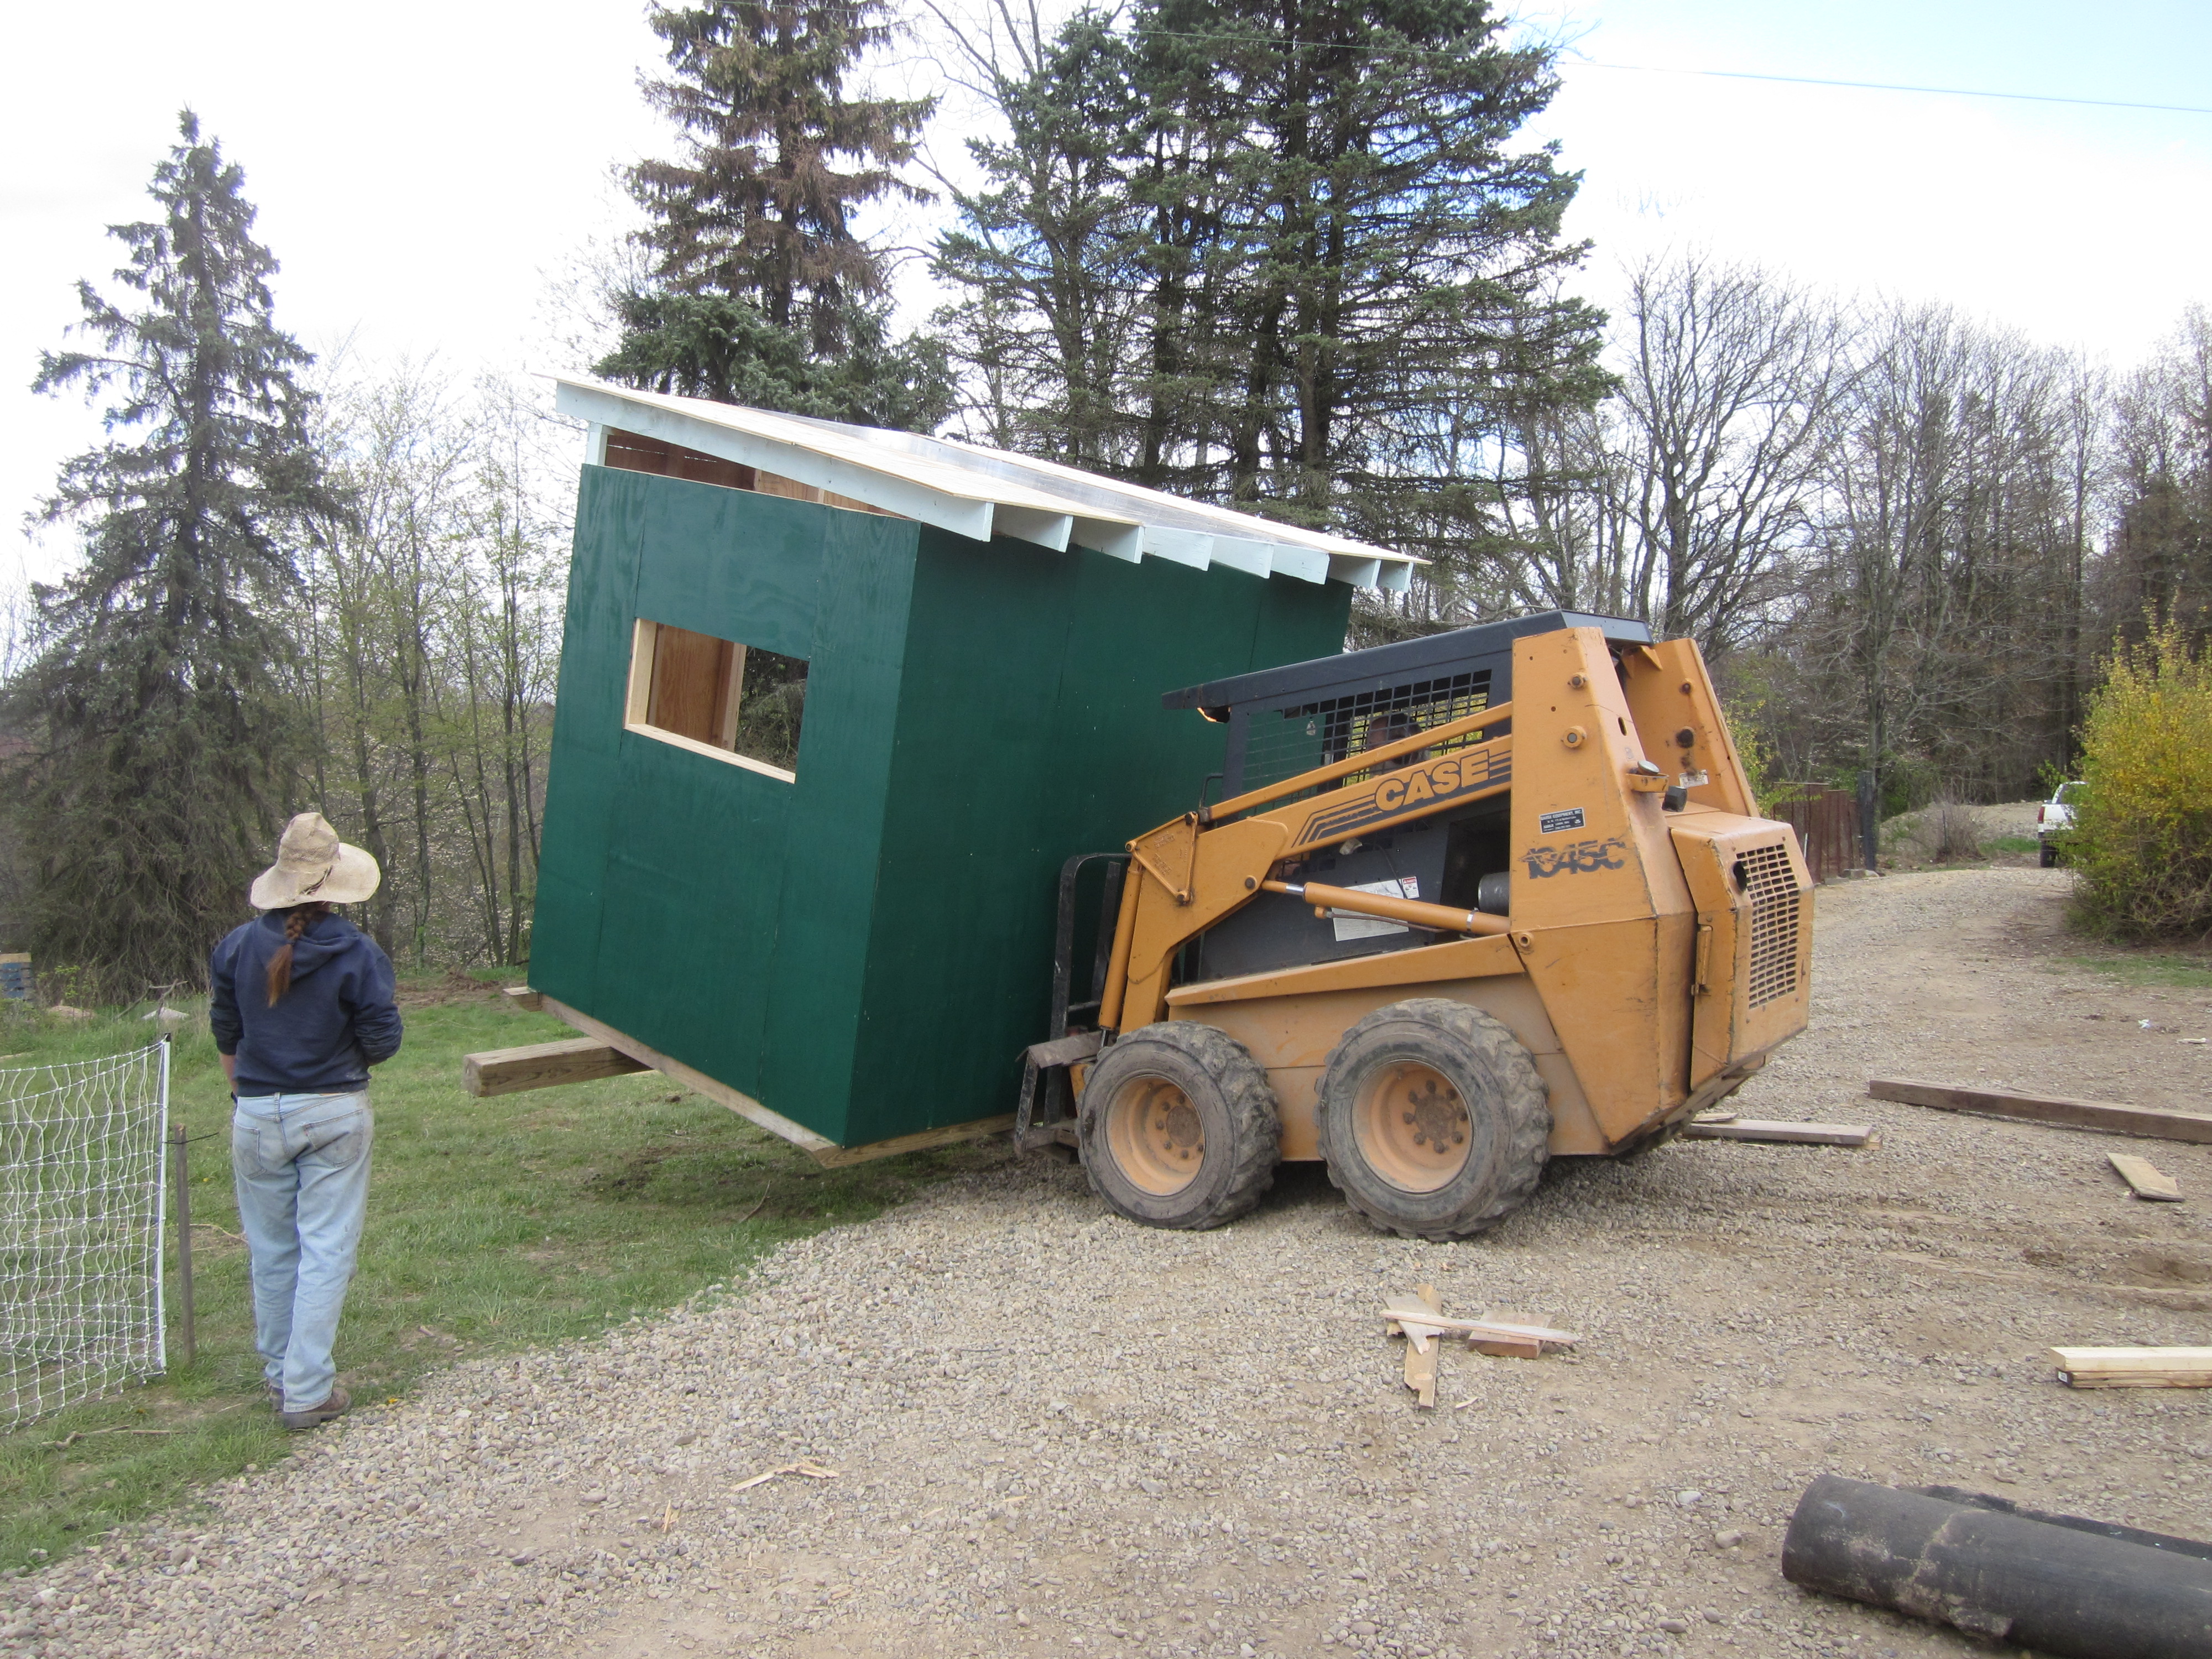
After we built the goat shed and moved it into place using the skid steer, our next task was to build a fence. We priced out fencing options, from welded wire to portable electric fencing with a solar charger. All of our options looked like they would cost over $500 to build or install, until we saw a video on YouTube about using pallets as fencing. We were able to get pallets from the grocery store and PR, our resident truck driver, was able to haul enough to us for about $150 to fence in a third of an acre. Our neighbor, Joe, helped us put it together in half a day, and the goats are safely and inexpensively fenced, happily munching away at the brush. We’ve since gotten more pallets and are going to expand the fencing as the goats eat down the brush. In all, our goat prep took about a week of labor to build shelter and fencing for three goats.
